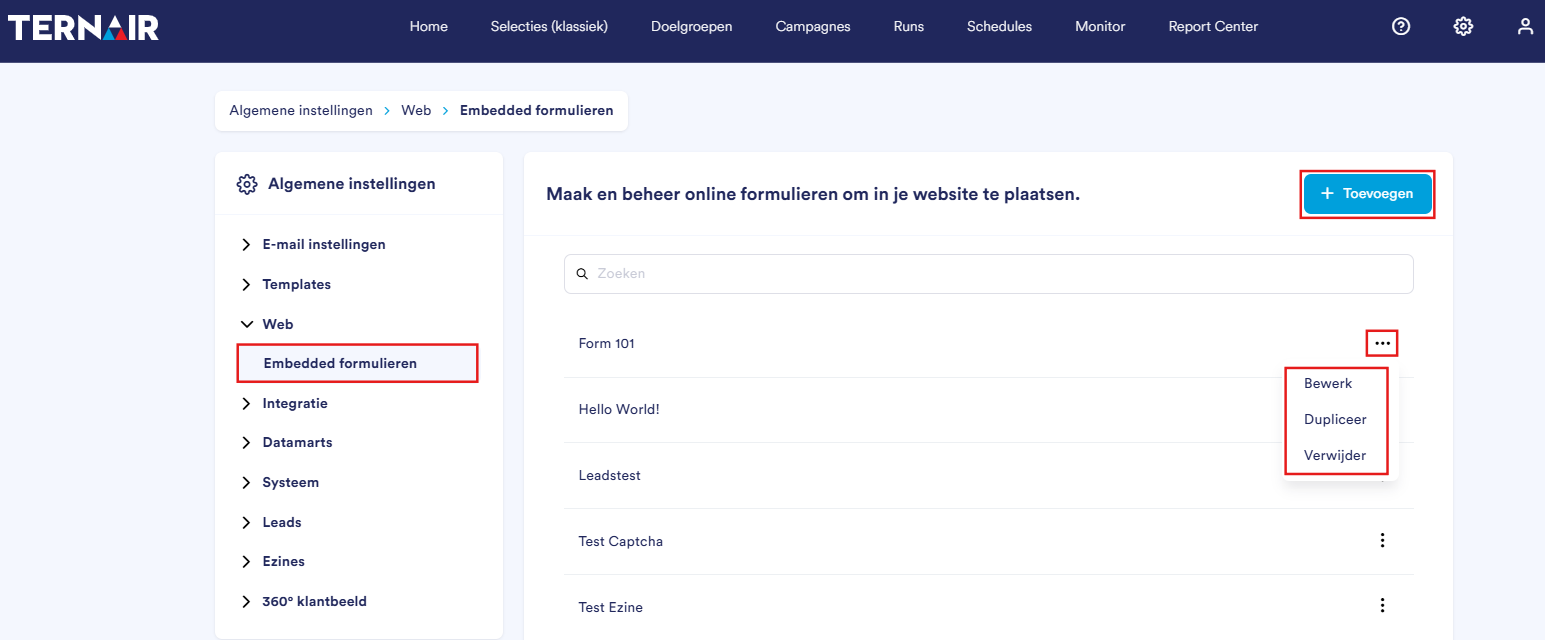
Embedded forms
List or Forms
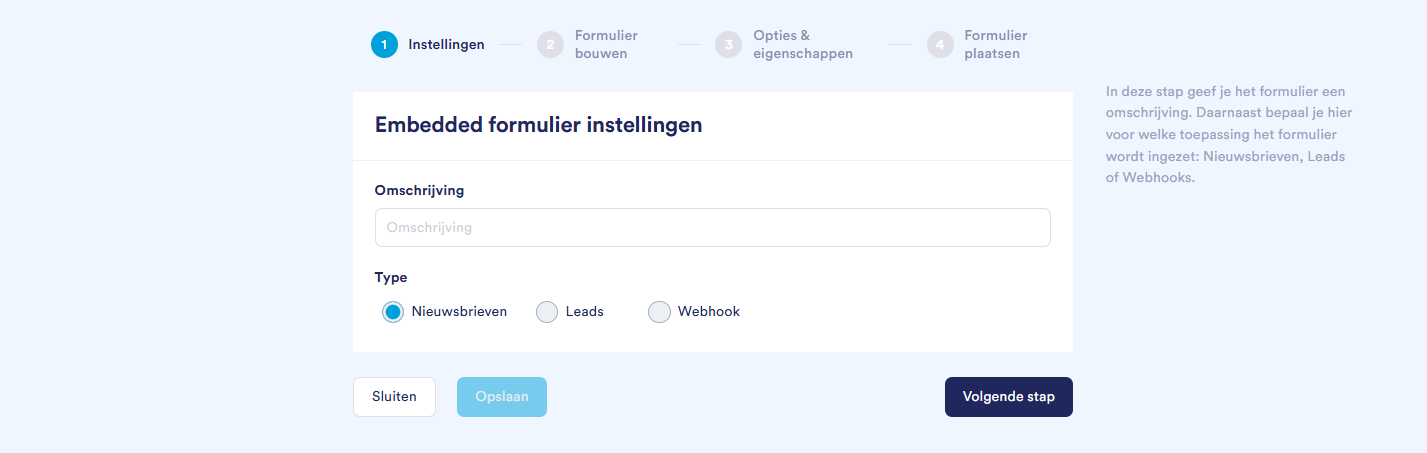
New Form - Step-by-Step Guide

Step 1: Settings
Step 2: Build the Form
Step 3: Options & Properties
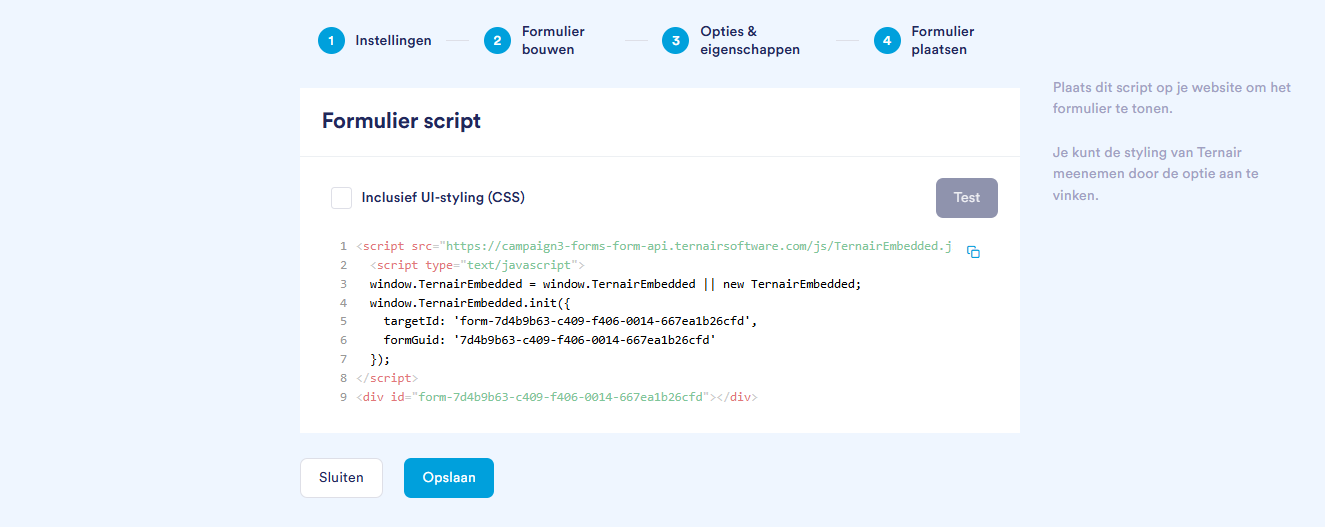
Step 4: Submit the form
Step 1: Settings
Form Type | Steps |
Newsletters and Leads | Step 1: Settings – Step 2: Build Form – Step 3: Options & Properties – Step 4: Place Form |
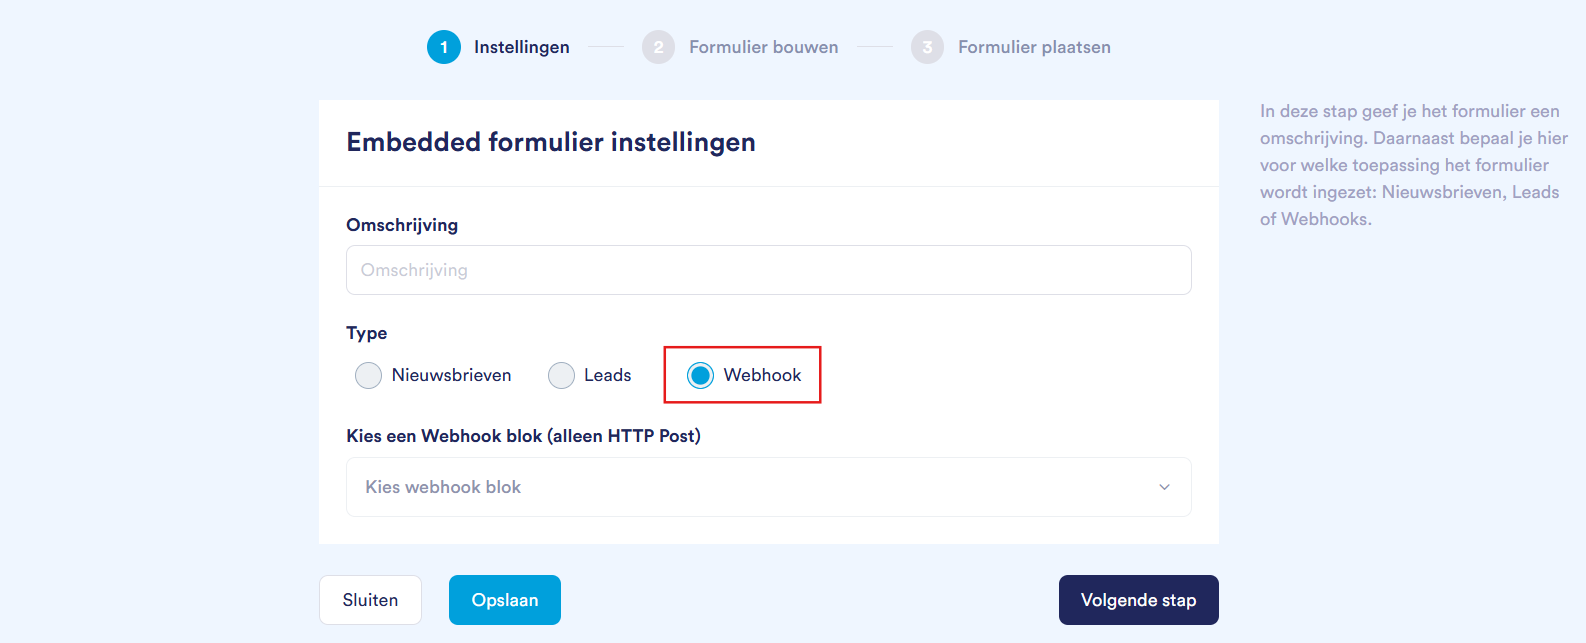
Webhook | Step 1: Settings – Step 2: Build a Form – Step 3: Embed a Form |
Select a Webhook Block
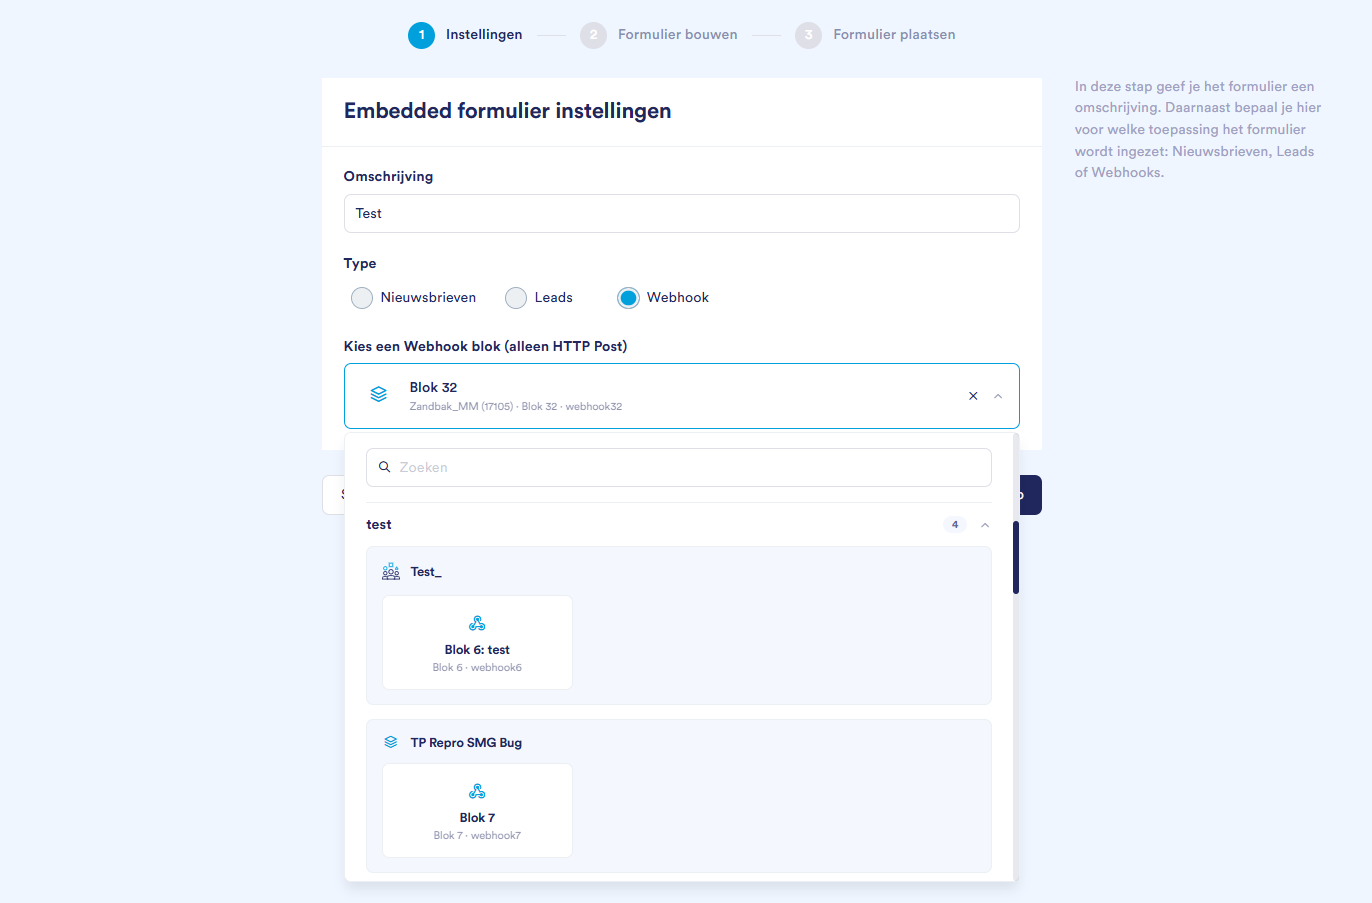
Step 2: Build the form
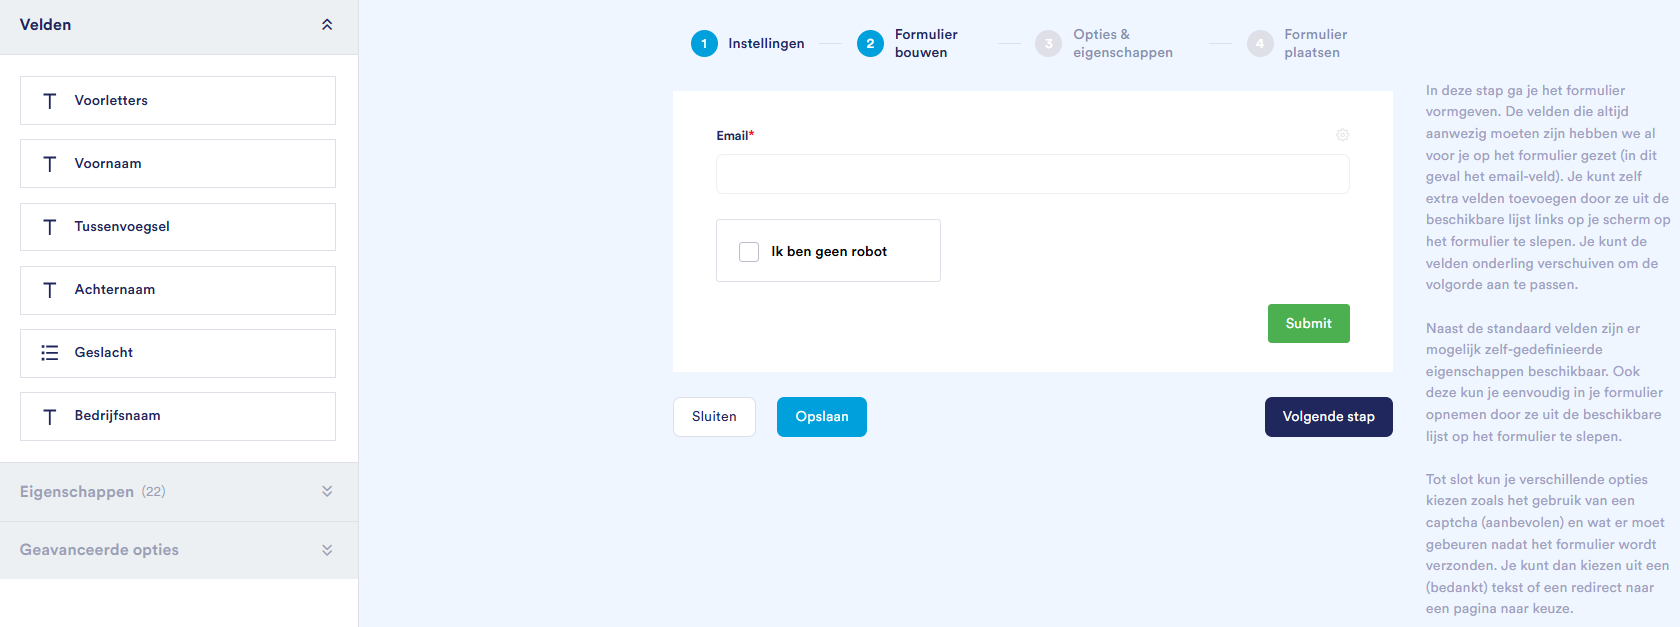
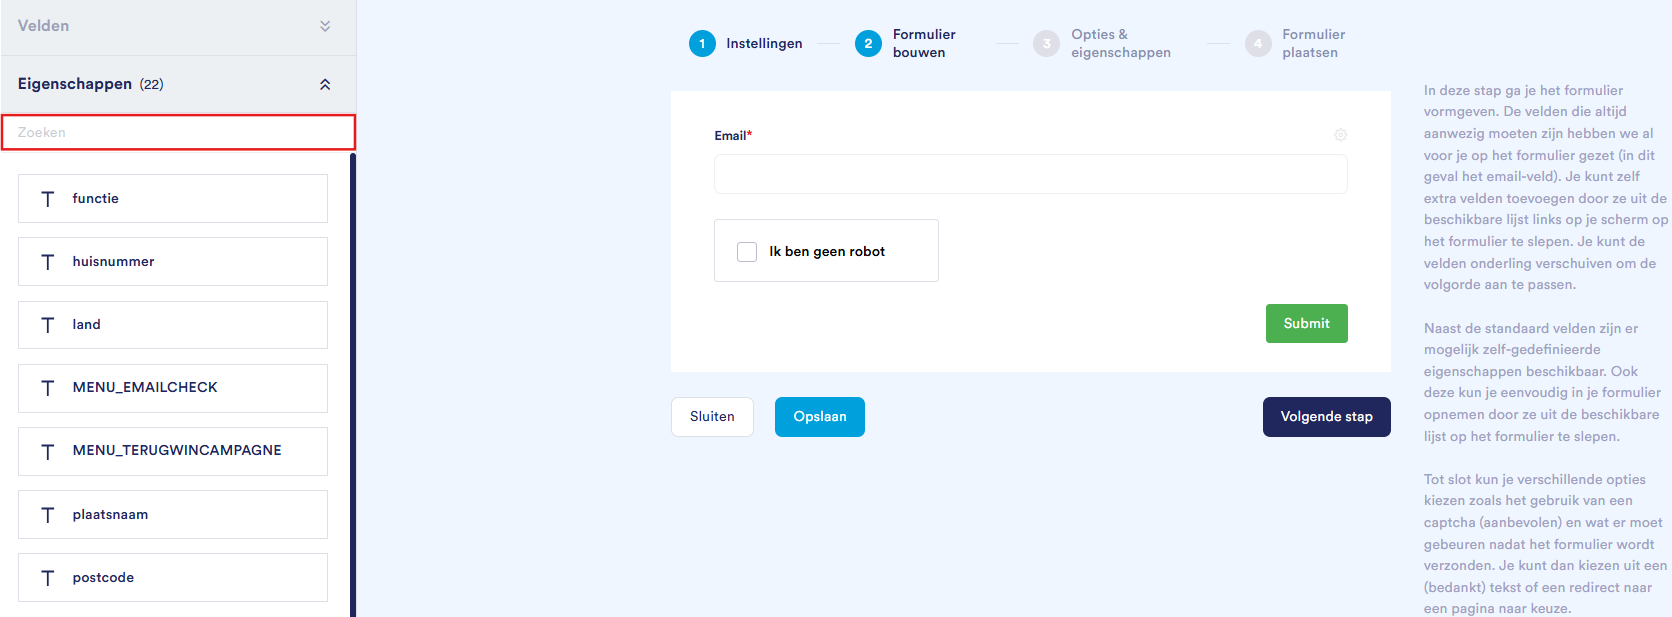
Fields
Under Label You can change the name or the field.
Under Field type You can choose the type or answer field: text or dropdown.
At Default value You can assign a default value to the field.
The Position Hide Use this if you want to store a value in your form's report without the respondent seeing it. This way, you can, for example, include an e-zine code or opt-in source.
With the feature Required Make the question required. An asterisk (*) will appear after the question.
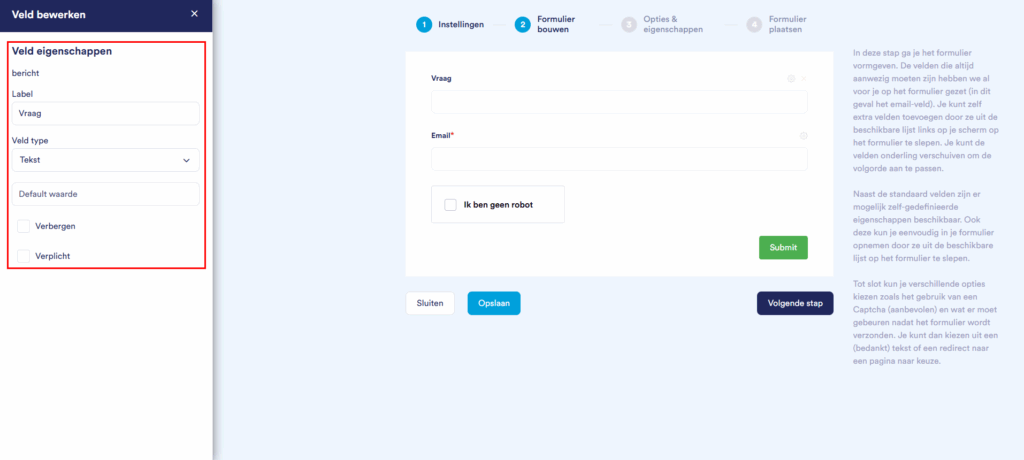
Drop-down menu, checkbox, or radio button
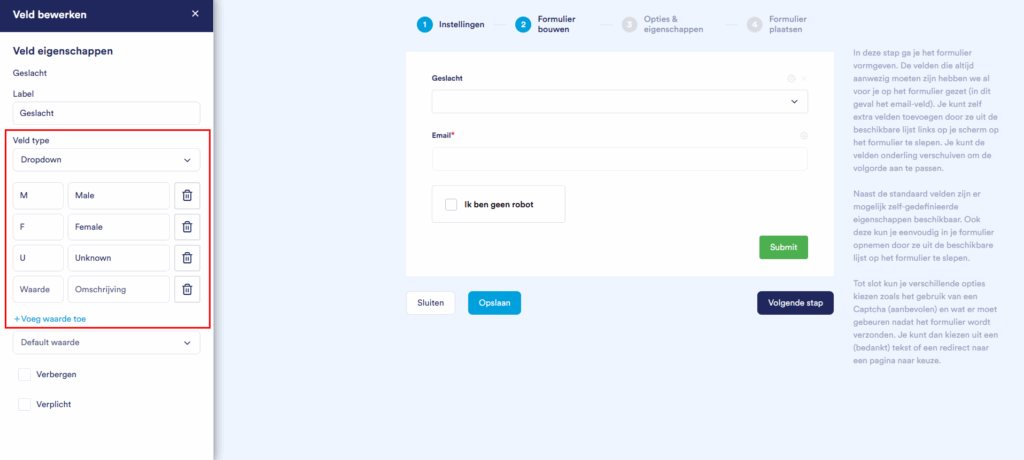
Features
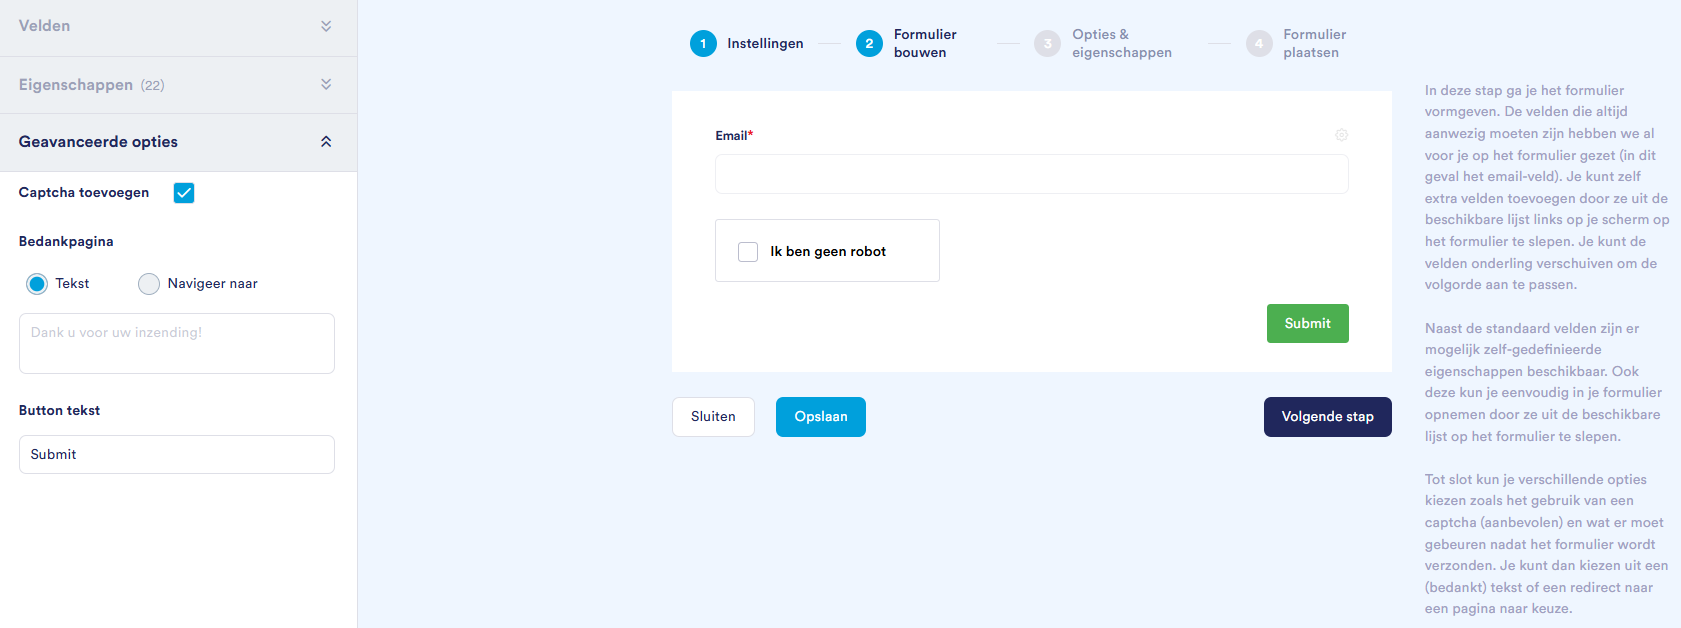
Advanced Options
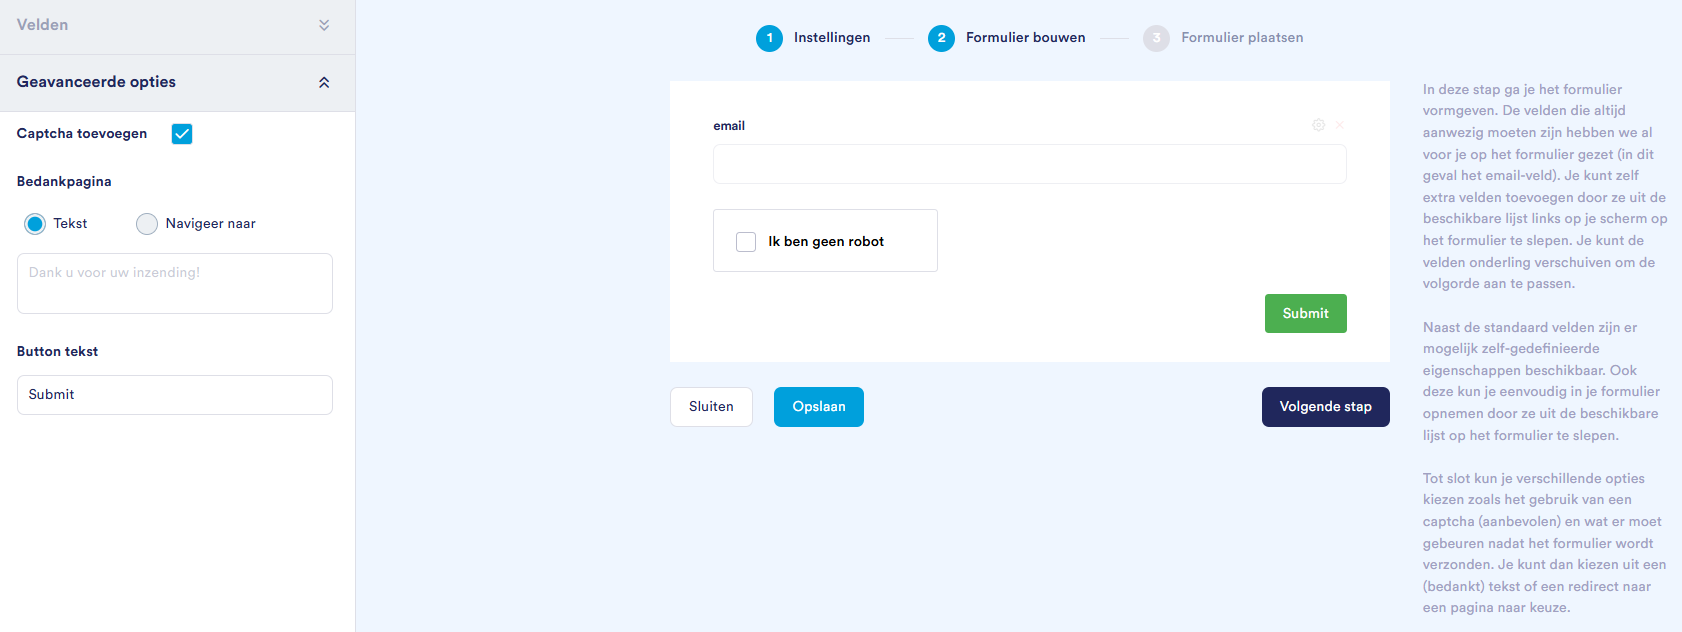
Under Add a CAPTCHA Please indicate whether a CAPTCHA should be added to the form (recommended).
At Thank You Page You can control what happens after the form is submitted. There are two options for setting up a thank-you page: include a thank-you message in the form, or redirect users to an external thank-you page or your choice.
Under Button text You can customize the button's text.
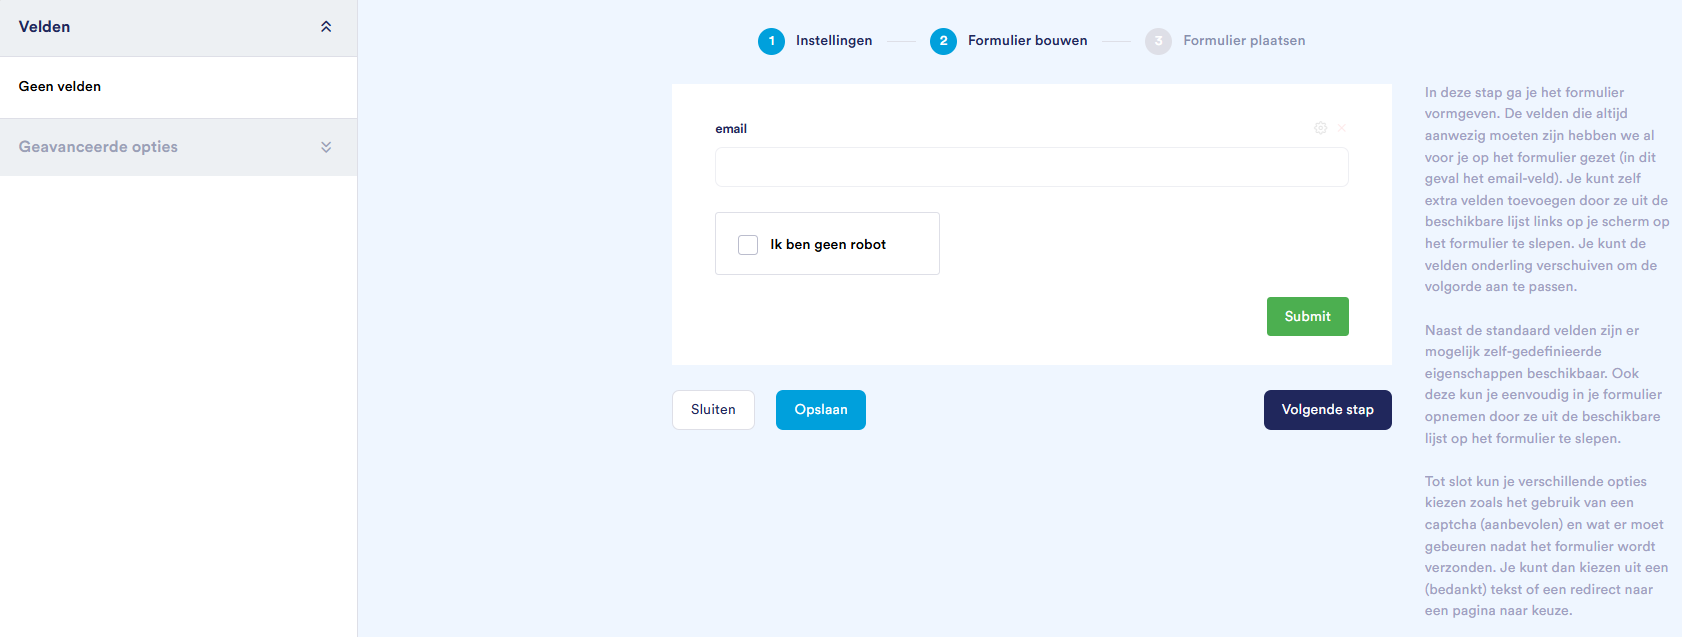
The list or fields is populated based on the selected webhook block. If no fields are yet available in the block, the list displays “No fields.”
The Properties panel is not available because the data is not stored in E-zines or Leads.
The email field is not required. Click the X next to the field to remove it from the form.
Step 3: Options & Properties
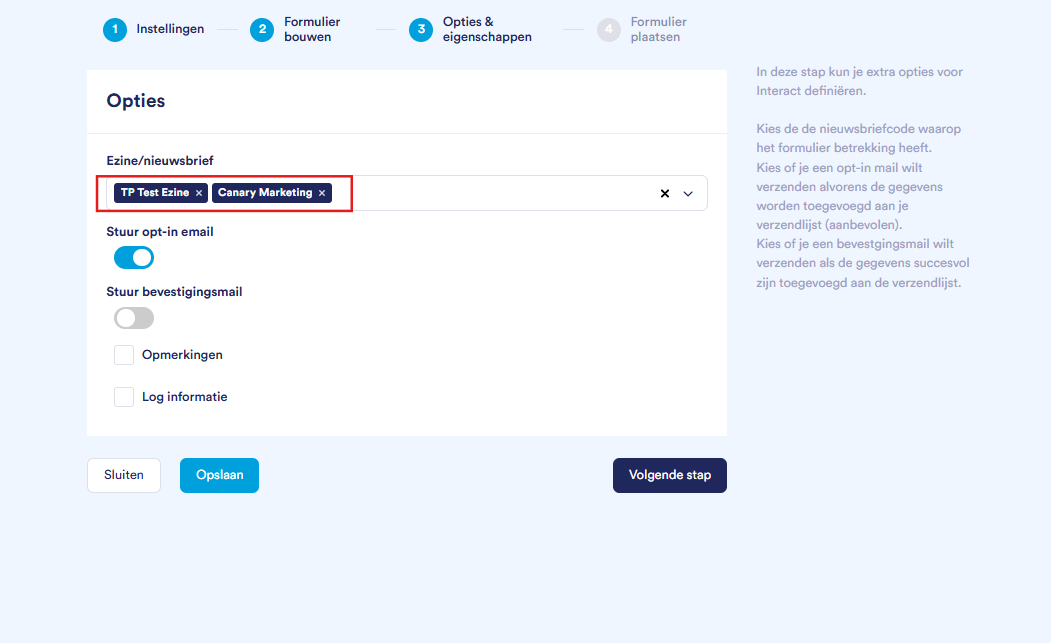
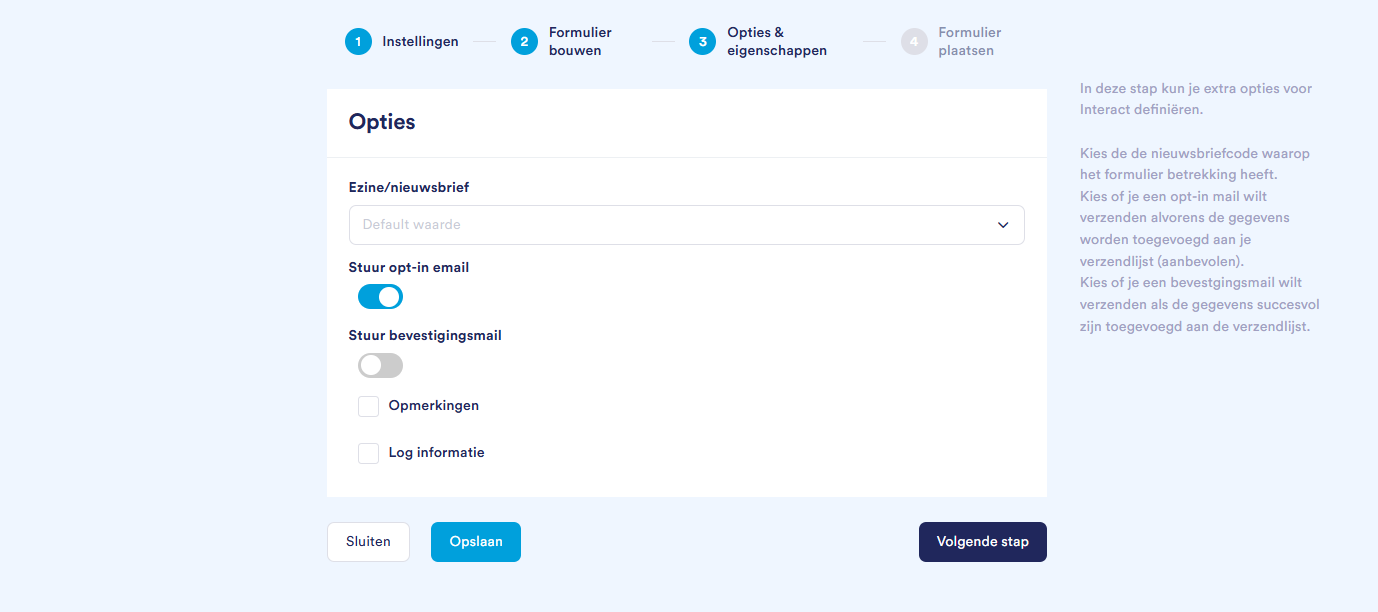
Using the drop-down menu E-zine/newsletter select one or more newsletter codes that the form applies to. There is no limit on the number or e-zines. Click the check mark next to an e-zine to remove it from the selection.
Use the option Send opt-in email* to send an opt-in email before adding the data to your mailing list (recommended).
Use the option Send confirmation email* to send a confirmation email once the information has been successfully added to the mailing list.
Under Comments You can provide additional information that will be stored with the newsletter subscription. For example, you can use this field for log information related to the subscription.
Log Information is temporary information.
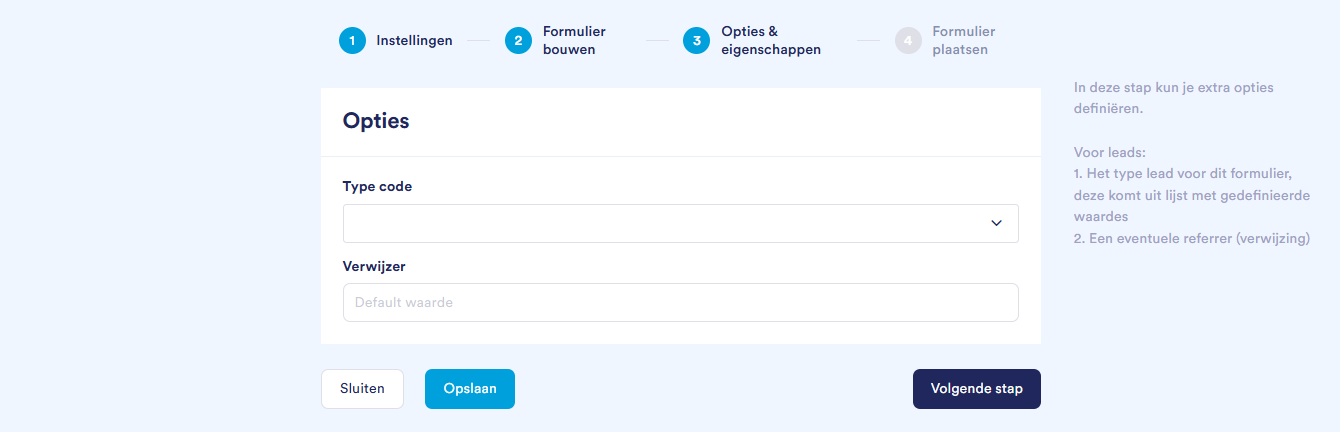
Via Type code Use the dropdown menu to select the type or code to which the form refers.
In the field Referrer You can include an optional reference.
Step 4: Submit the Form