Webhook
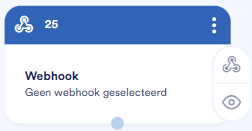
The Webhook block lets you trigger a campaign flow from an external system. As soon as a specific event occurs in a third-party application—such as the creation of a lead—that system automatically sends a notification via a URL to Ternair, which then starts the flow.
With the Webhook block, you can create a target audience based on contacts passed from the webhook.
Terms and Conditions
Before you can use the Webhook block, at least one webhook must be configured in the General Settings. For more information on configuring webhooks, please see the link below.
Before you can use the Webhook block, at least one webhook must be configured in the General Settings. For more information on configuring webhooks, please see the link below.
Add a Webhook Block
Drag the Webhook block from the category Select recipients From the menu, go to the worksheet; the block opens automatically.
Title
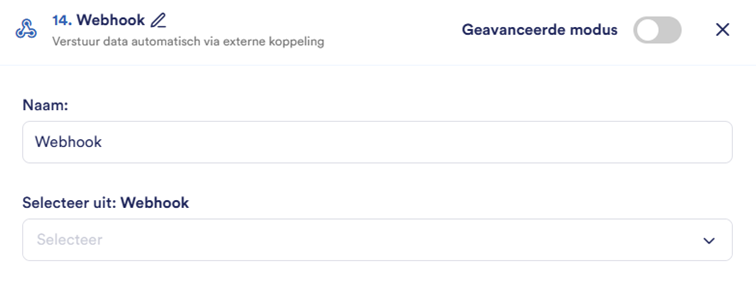
At the top of your screen, you'll see the block's title (default: Webhook). You can customize these.

Advanced Mode
In the upper-right corner of your screen, you'll find the "Advanced Mode" toggle.

If you check the ""Advanced Mode" When you check the box, the option to save the target audience block as a template appears. Next to the Save button appear three dots which allows you to open an additional option to save the block as a template.
Select Webhook
Select from the dropdown menu Select "Off": Webhook the webhook you want to use.

Save / Cancel
The Leads block is saved and calculated after you click the "Save" button. Use the "Cancel" button to undo your changes.
Connect Webhook Block
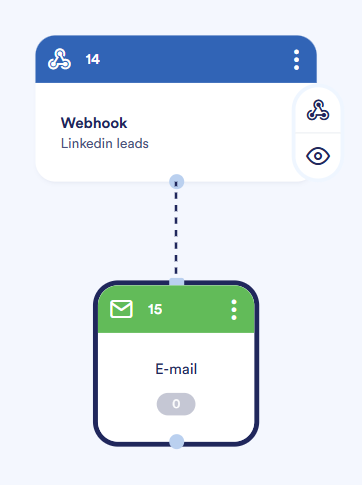
After saving, you can use the Leads block as input for other blocks. Connect blocks by drawing a line from the Leads block to the next channel block.
Open the Webhook block
The first time you drag a Webhook block into the flow, the block opens automatically. To open an existing Webhook block, double-click the block or click the three dots in the upper-right corner in the block.
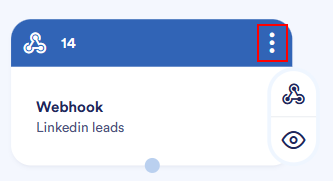
A context menu appears with the following options:
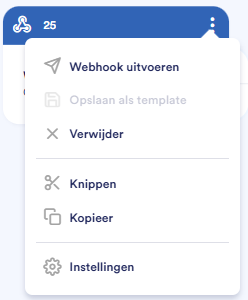
Option | Description |
Run a webhook | Use this button to run the webhook |
Save as a template | Click the three dots next to the Save button to save it as a template (Available only when "Advanced Mode" is enabled) |
Delete | Remove the block from the flowchart |
Cutting | Cut out the block to paste it somewhere else |
Copy | Make a copy of the block |
Settings | Open the block's settings |
Webhook preview (eye icon)
After you save the Webhook block, it will be eye icon blue.
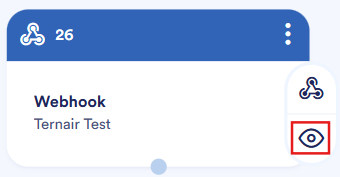
When you click the eye icon, a preview of the selected target audience appears.
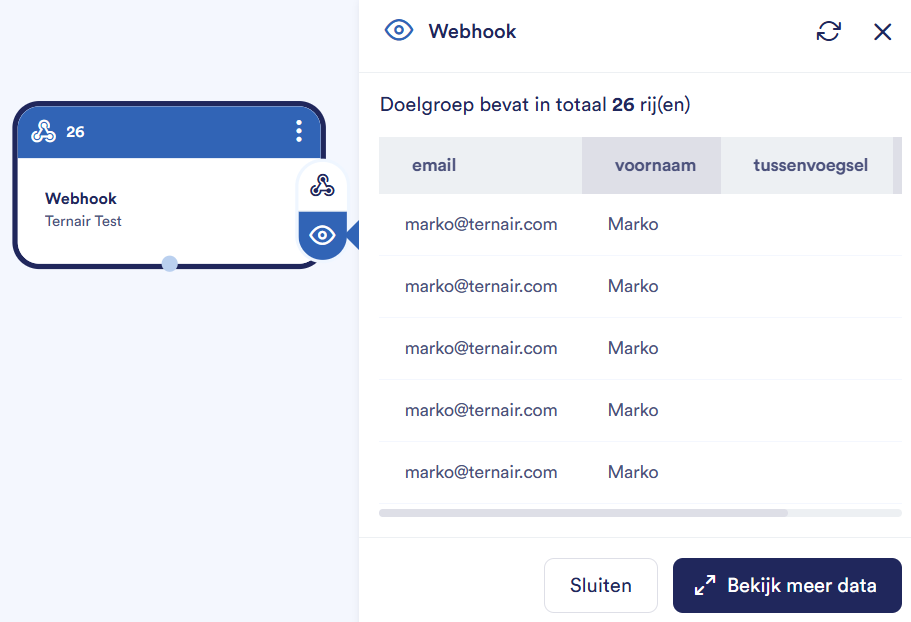
The preview displays the following information:
Number of rows
The number of contacts in the target group.

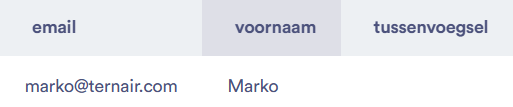
Target Audience Data
Information about the selected contacts, such as their email addresses.
View more data
Click the button “View more data” to open a detailed overview with additional information about the target audience.
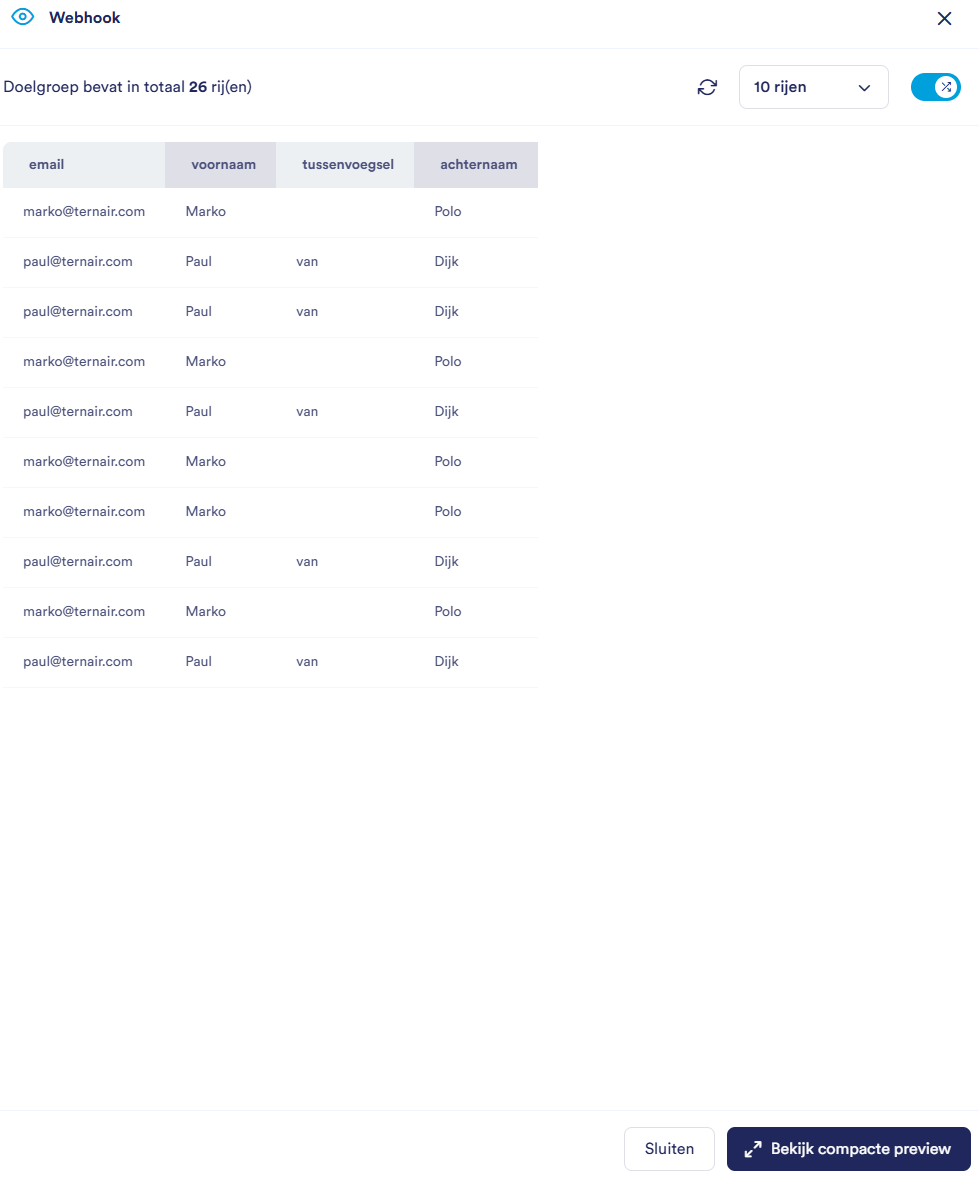
Refresh Data
Click on the refresh-icon to refresh the data (for example, after recent changes).

Close Window
Close the preview by clicking the little cross Click in the upper-right corner or use the Close button.

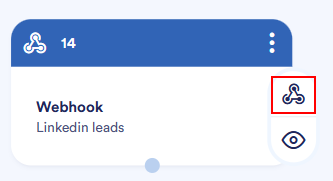
Webhook URL (triangle icon)
Click on the triangle icon to copy the URL that is called from the webhook. The Webhook block allows you to trigger a campaign flow in Ternair based on events from an external system. For example, when a lead is created in that system, it automatically sends a notification via the URL to Ternair, which then immediately activates the flow.
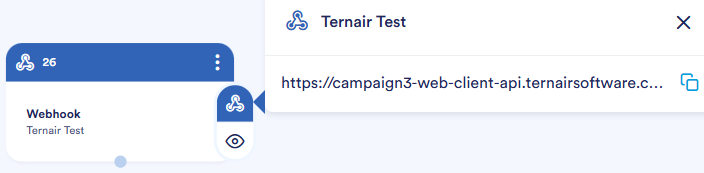
The pop-up displays the following information:
Webhook Name
The name of the selected webhook

URL
The URL being called is displayed under the webhook's name. You can open this URL, select it, and easily copy it.

Copy
Next to the URL is an icon you can click to copy the entire URL at once.

Close Window
Close the pop-up by clicking on the little cross Click in the upper-right corner.
