Tracking
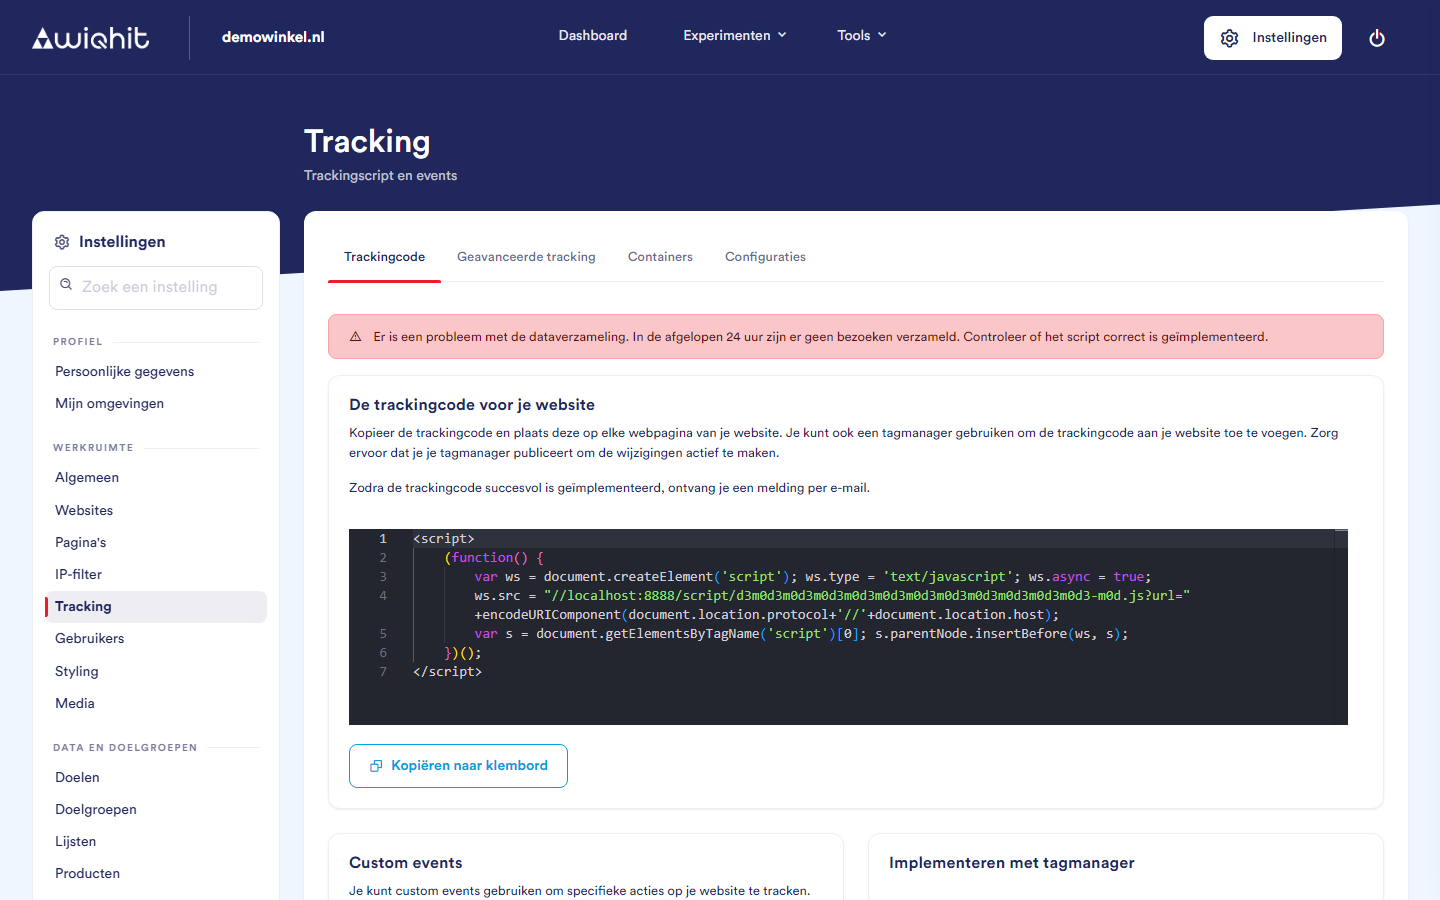
Checking the data collection
red: no visits have come in. Check whether the code is on your site.
orange: fewer than 20 visits have come in.
green: data collection appears to be working correctly.
Placing the tracking code
Under The tracking code for your website, click Copy to clipboard.
Place the code on every page of your website, or add it through your tag manager.
If you use a tag manager, publish the change. Only then is the code active.
Note: The script only works on domains you have added under Workspace > Websites.
Creating a custom event
Under Custom events, enter a Subject.
Enter an Action. The code appears below it.
Copy the code.
Have the code executed at the moment the action takes place.
Important: Use the code exactly as WiQhit gives it: the word before .customevent differs per environment.
Note: A custom event is only stored if you use it somewhere in WiQhit, for example in an audience or as a trigger for a widget. An event that is not set up anywhere leaves no data.
Advanced tracking
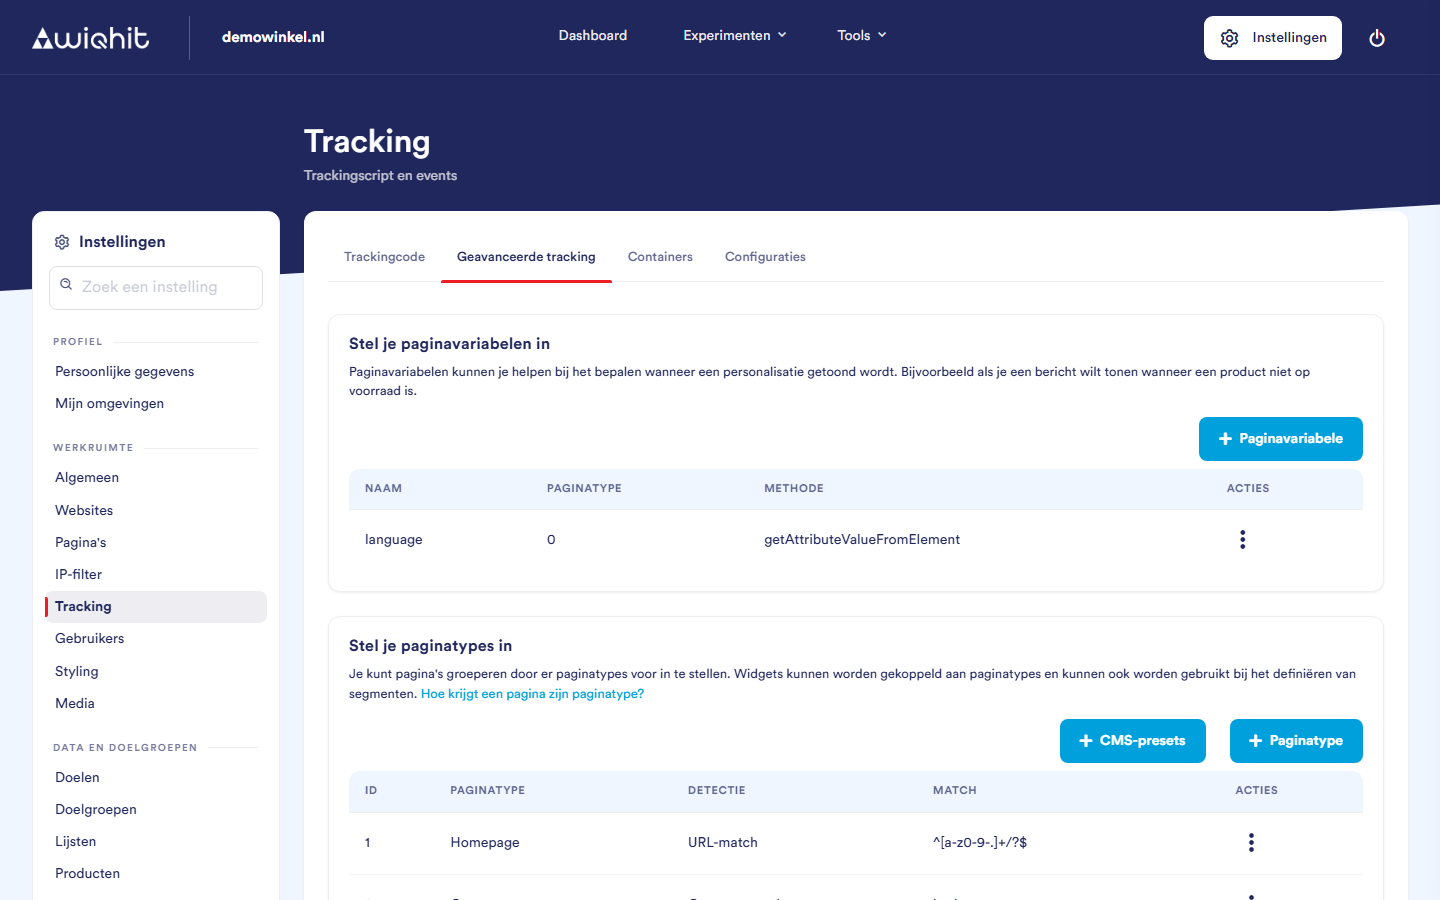
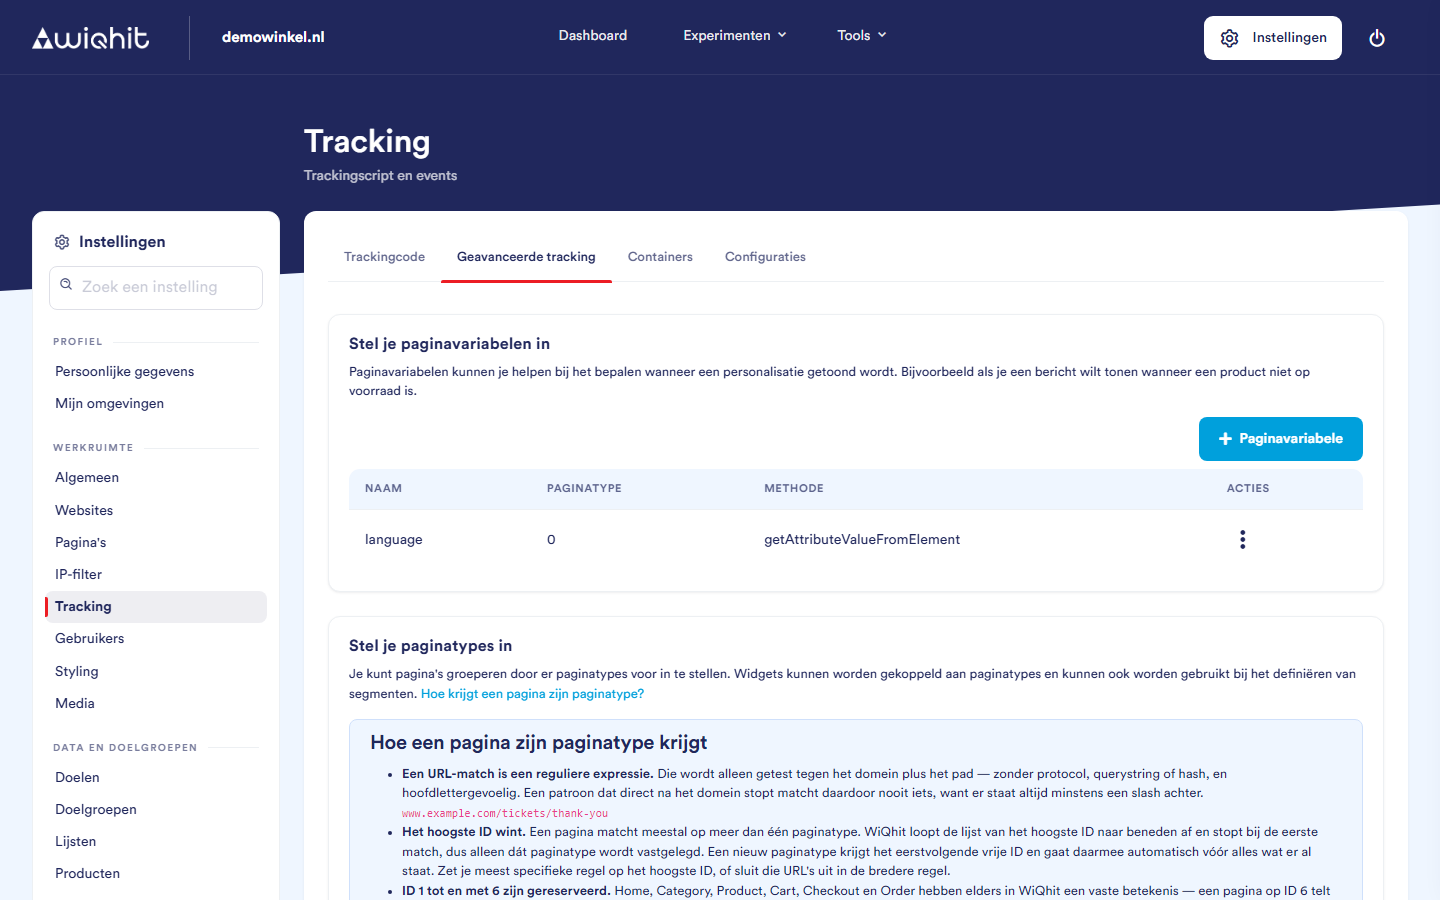
Set up your page variables: a page variable reads a value from the page, for example the language or whether a product is in stock. For each variable you choose a Name, the Page type to which it applies (
0is all pages) and the Method with which WiQhit retrieves the value, such as the value of an attribute of an element. You use page variables to determine when a widget appears. Click + Page variable to add one.Set up your page types: with these you group pages, such as all your product pages. How this works is described in the article Pages and page types.
Set up the collection of extra events: extra events that WiQhit can measure. As the screen itself indicates, it is normally not necessary to turn these on.
Profile data: with this you store a value on a visitor's profile, from a Query string parameter in the URL, a Form they submit or a Custom event. For each line you choose the Attribute name, how long the value is kept (Expires) and whether it is stored hashed (Hashed), for example for an email address.
Profile identification: which of those values uniquely identify a visitor, so that WiQhit can link visits from the same customer. For a metric, turn on Is identifier to use it for this.
Creating a container
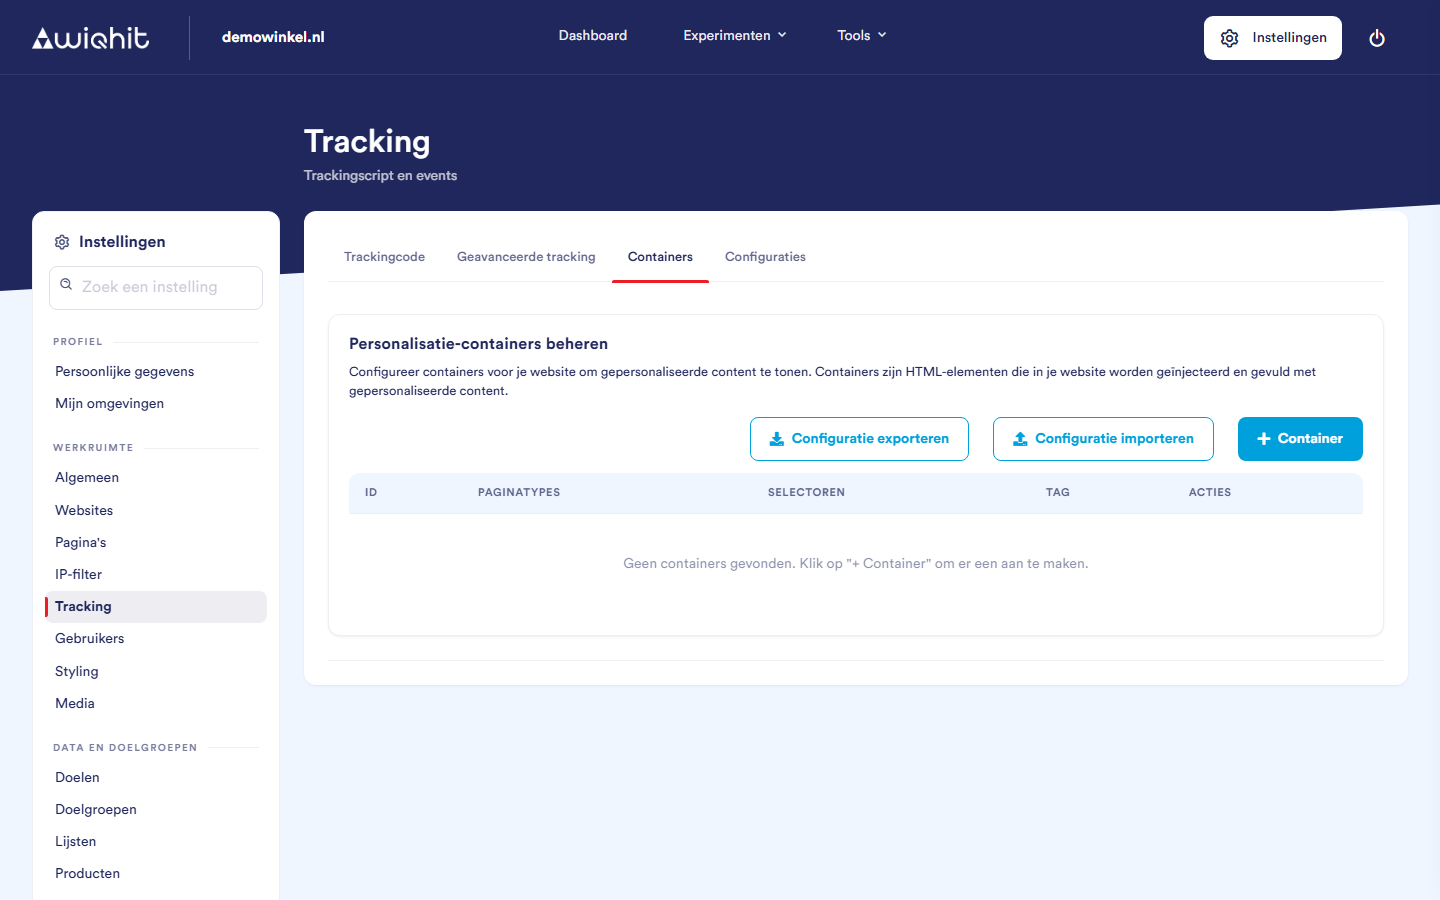
Click the Containers tab.
Click + Container.
Set up the container:
the Container ID, the Tag name (for example
div) and optionally a CSS class and Initial content;on which Page type the container appears;
next to which element of your page it goes (the Selector) and the Position: Before element (outside), After element (outside), In element (start) or In element (end). You can specify more than one selector;
optionally extra Attributes and Styles.
Tip: With Export configuration and Import configuration you transfer all containers in one go, for example from a test environment to your live environment.
Configurations
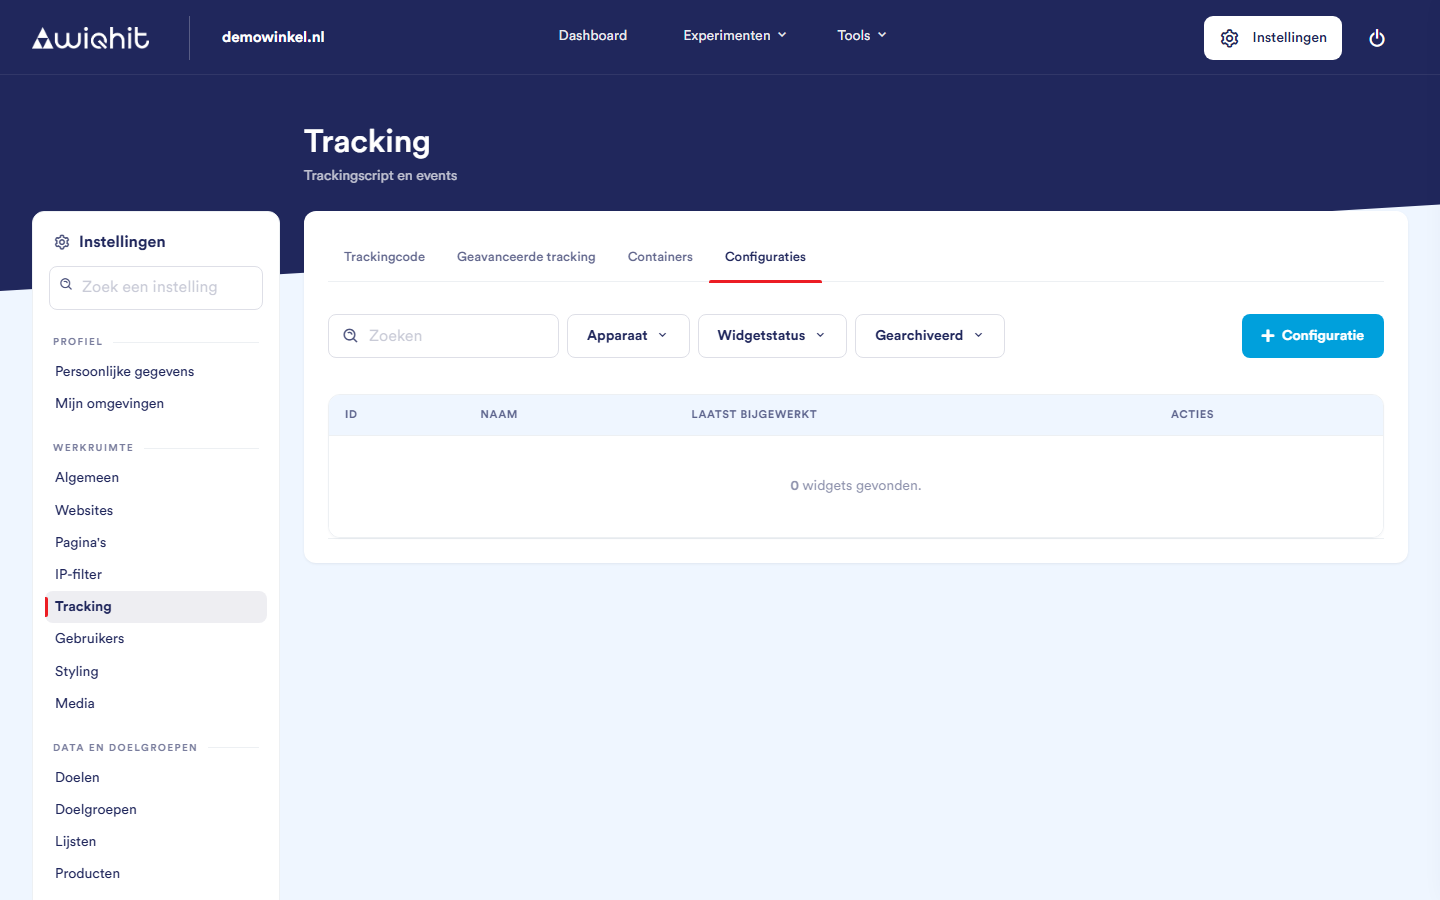
Important: An error in a configuration script can affect your entire website. So test a new configuration first, and involve WiQhit if in doubt.