Building a widget
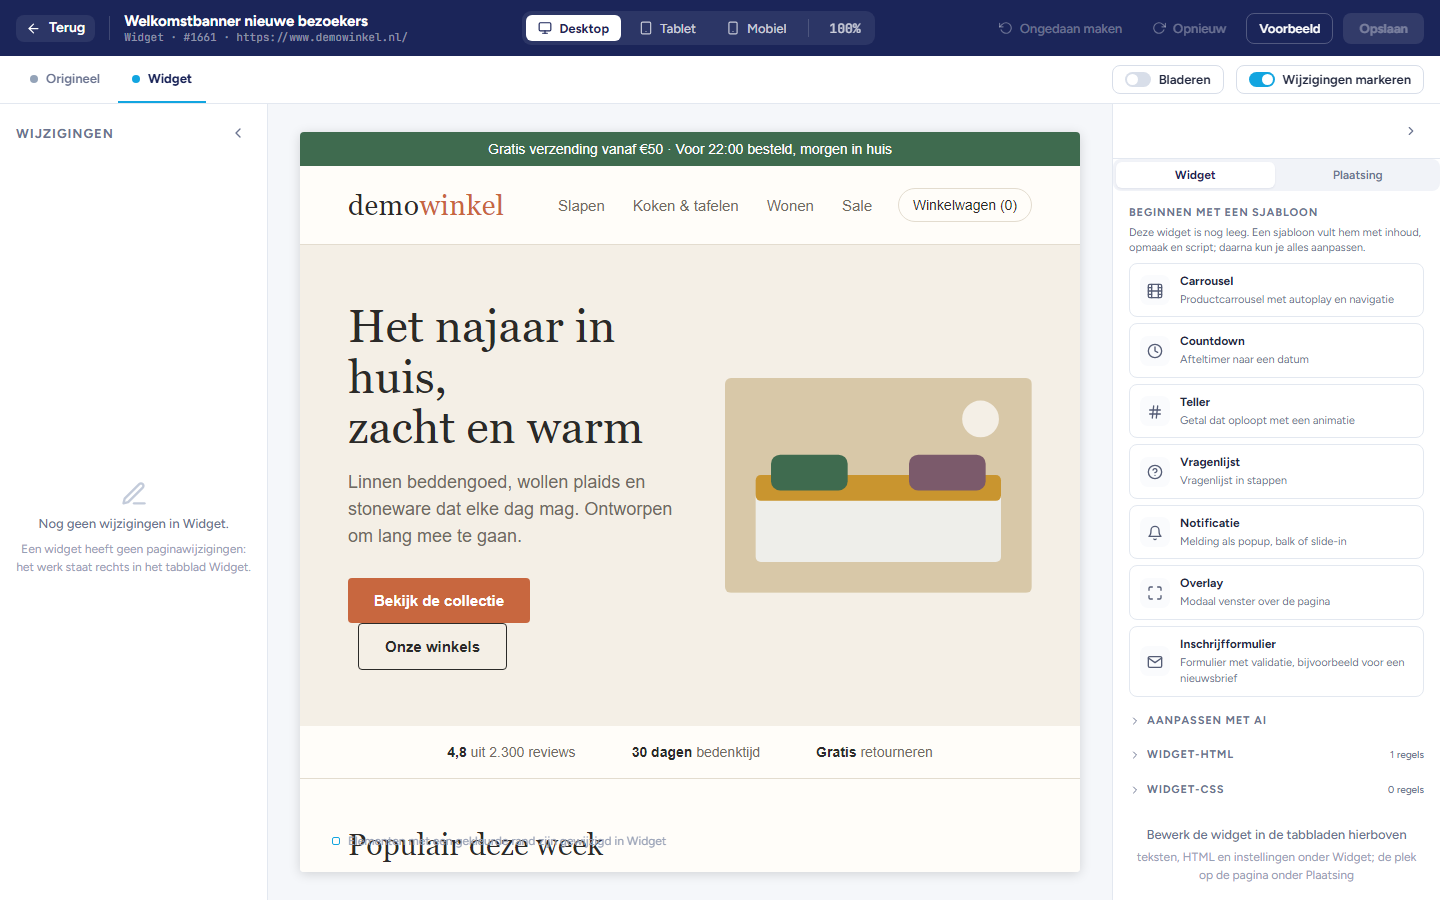
Widget mode
The variant bar only shows Original and Widget. You cannot add variants here.
You do not select or change elements on the page. Everything you do to the widget is on the right in the Widget and Placement tabs.
With Browse you can use the menus and buttons of your page, to see the widget in its context.
Creating a widget with a template
Click a template. The widget is filled with content, styling and script.
Adjust the settings and texts.
Click Save.
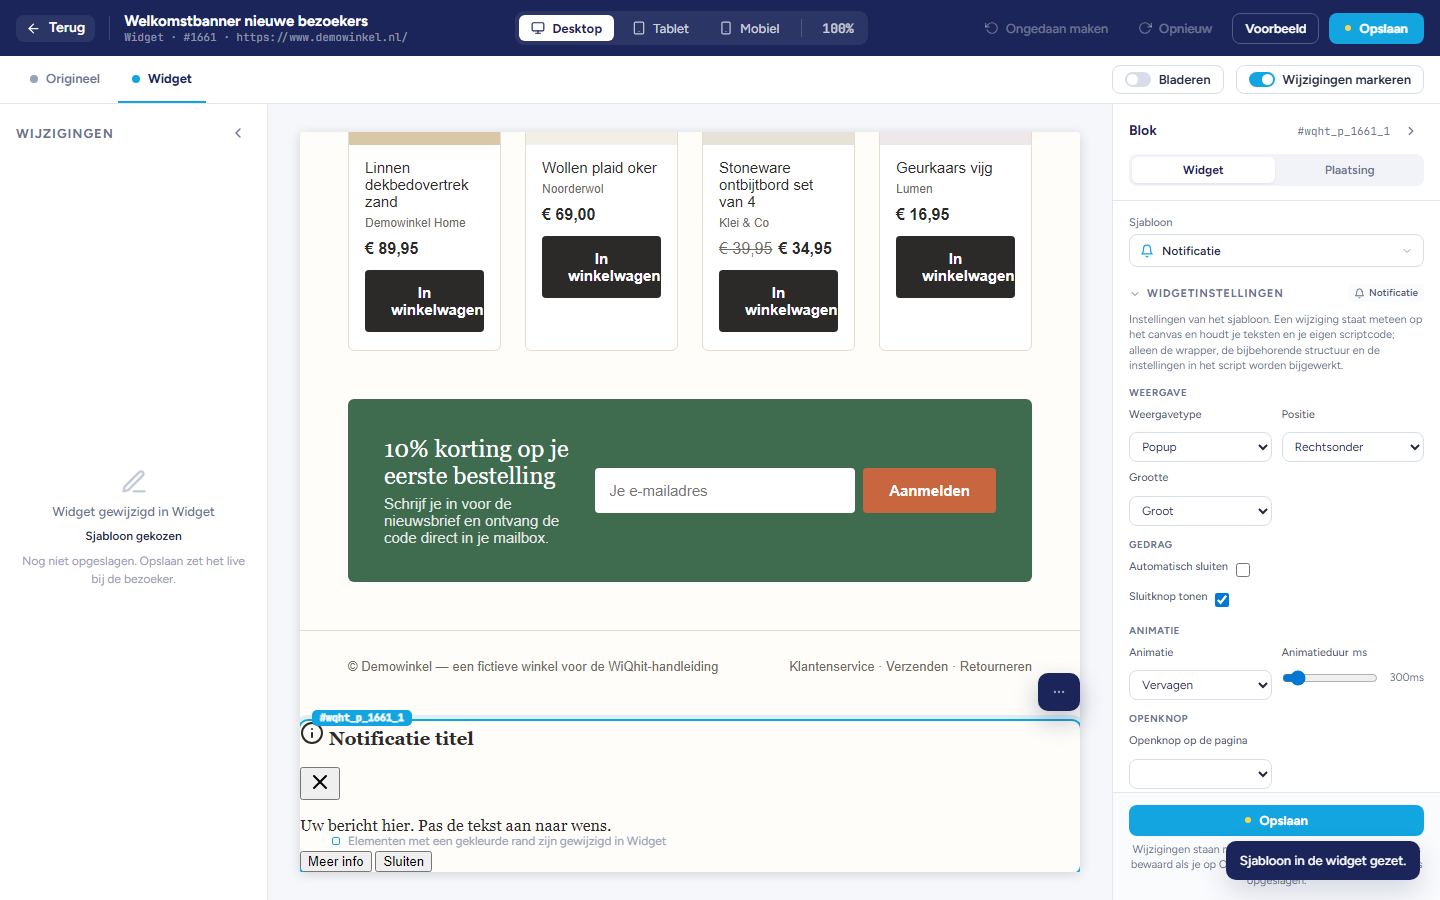
Important: If you want a different template later, choose it under Template. This replaces the entire widget: your texts, settings and own code will be lost.
The Widget tab
Widget settings: for example display type (popup, slide-in, bar), position, size and animation. You see a change immediately on the page.
Questions: for a questionnaire, you add questions here and choose the type of question.
Colours and style: the colours of the widget. Back to default removes your choice.
Texts: all the texts of the widget in a row.
Adjust with AI: see the article Writing copy with AI.
Widget HTML, Widget CSS and Widget script: the code of the widget, for those who want to write it themselves. Click Apply to put your code on the page, or Discard.
Important: If the widget script contains an error, the editor does not save: a broken script makes the widget invisible to visitors. First fix the error shown below the script.
Placing the widget
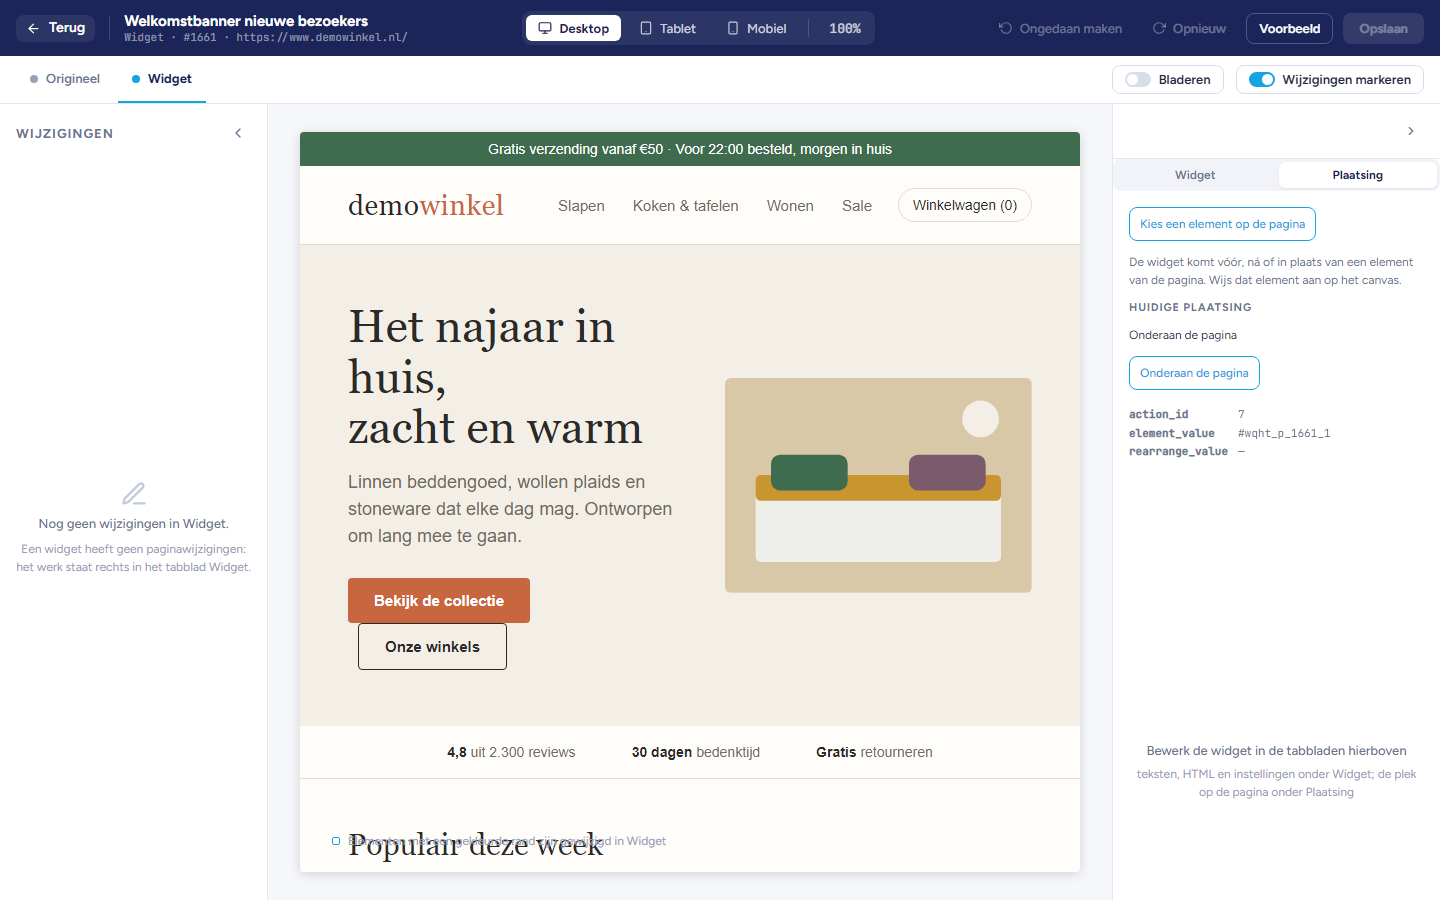
Open the Placement tab.
Click Choose an element on the page.
On the page, click the element where the widget should go. Escape stops choosing.
Choose Before, After or Replace. Replace removes that element for the visitor; the widget takes its place.
Tip: For a widget that lies over the page, such as a popup, you usually do not need to do anything here.
Considerations
The widget only appears to visitors once you have saved and the personalisation is set to Active in the app.