Addressing new and returning visitors differently
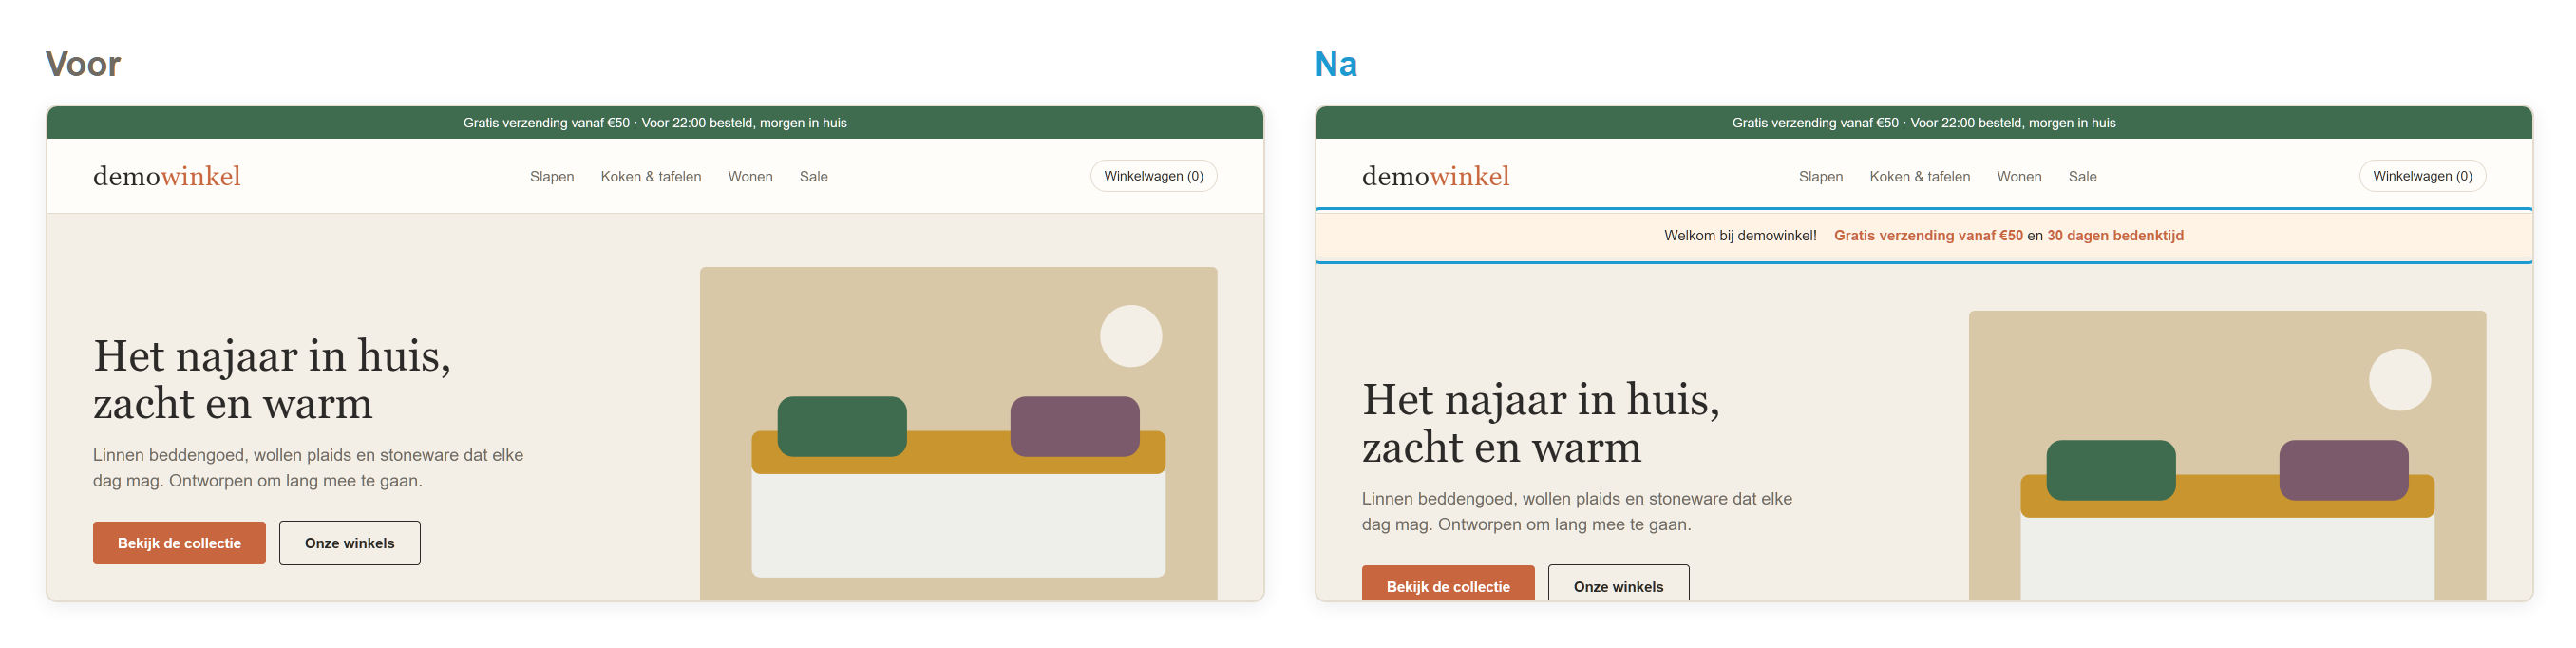
Messages per group
A welcome banner with what makes your shop different. In the demo shop: Free shipping from €50 and a 30-day cooling-off period.
A first-order discount in exchange for a newsletter sign-up, such as 10% off your first order.
Social proof: reviews or the number of satisfied customers, close to the button.
A welcome back message that redirects straight away: Welcome back! See what is new in the autumn collection.
Continue where you were: a bar with a link to the shopping cart or to the category where visitors most often continue browsing, for example Sleeping.
Note: To show returning visitors their own recently viewed products, you need a recommendation with a product selection per visitor. Ask WiQhit to set it up.
How the Journey Board determines who sees what
Step 1: Creating an audience for returning visitors
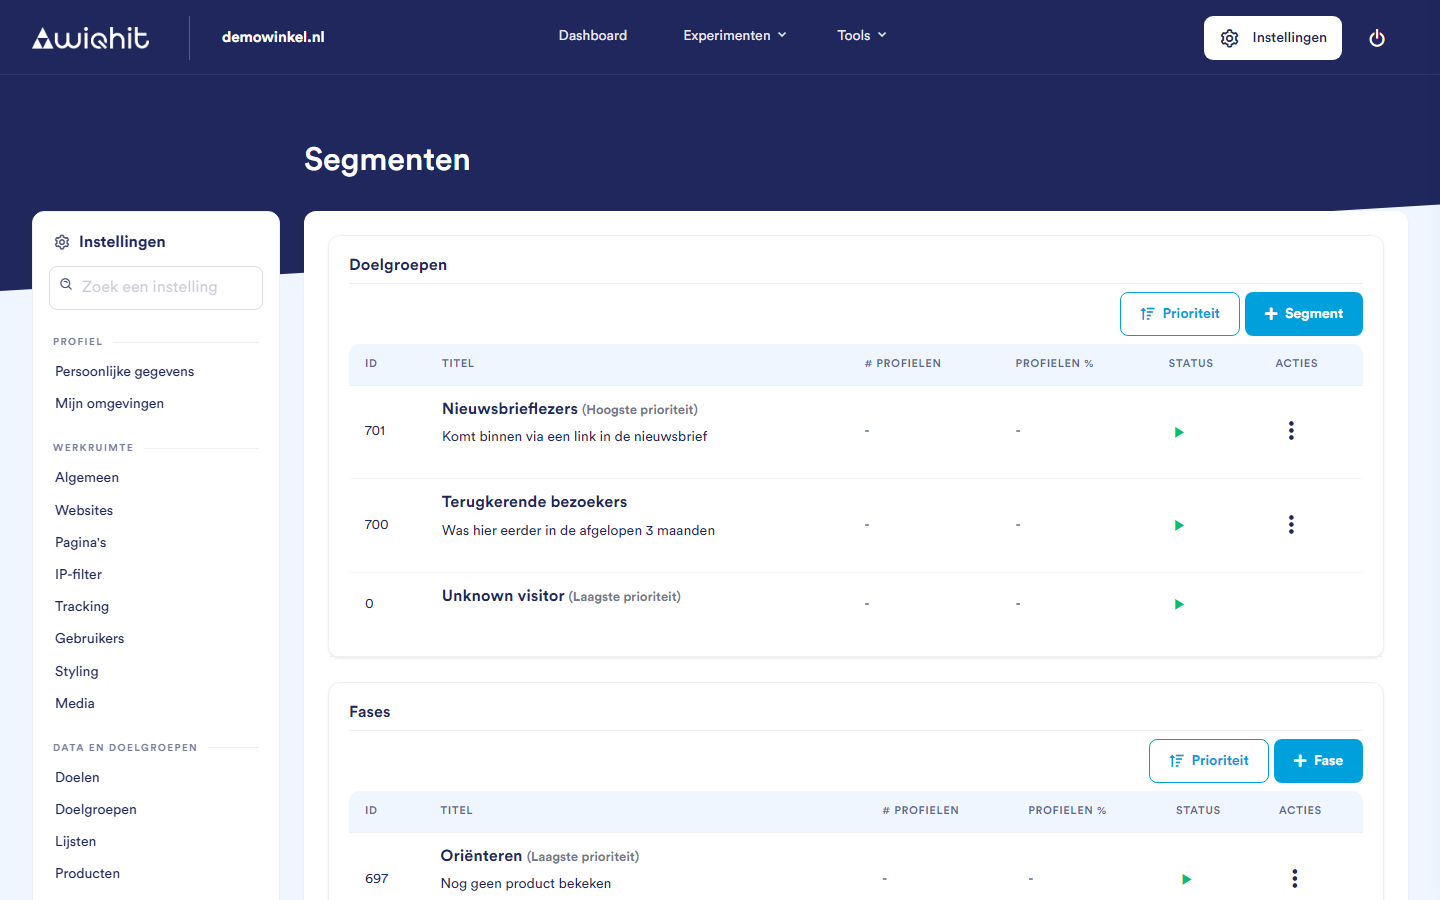
In the main menu, click Settings, then Data and audiences and then Journey Board.
At the top right, click settings. You will see the Audiences, Phases and Extra segmentation.
Under Audiences, click Segment.
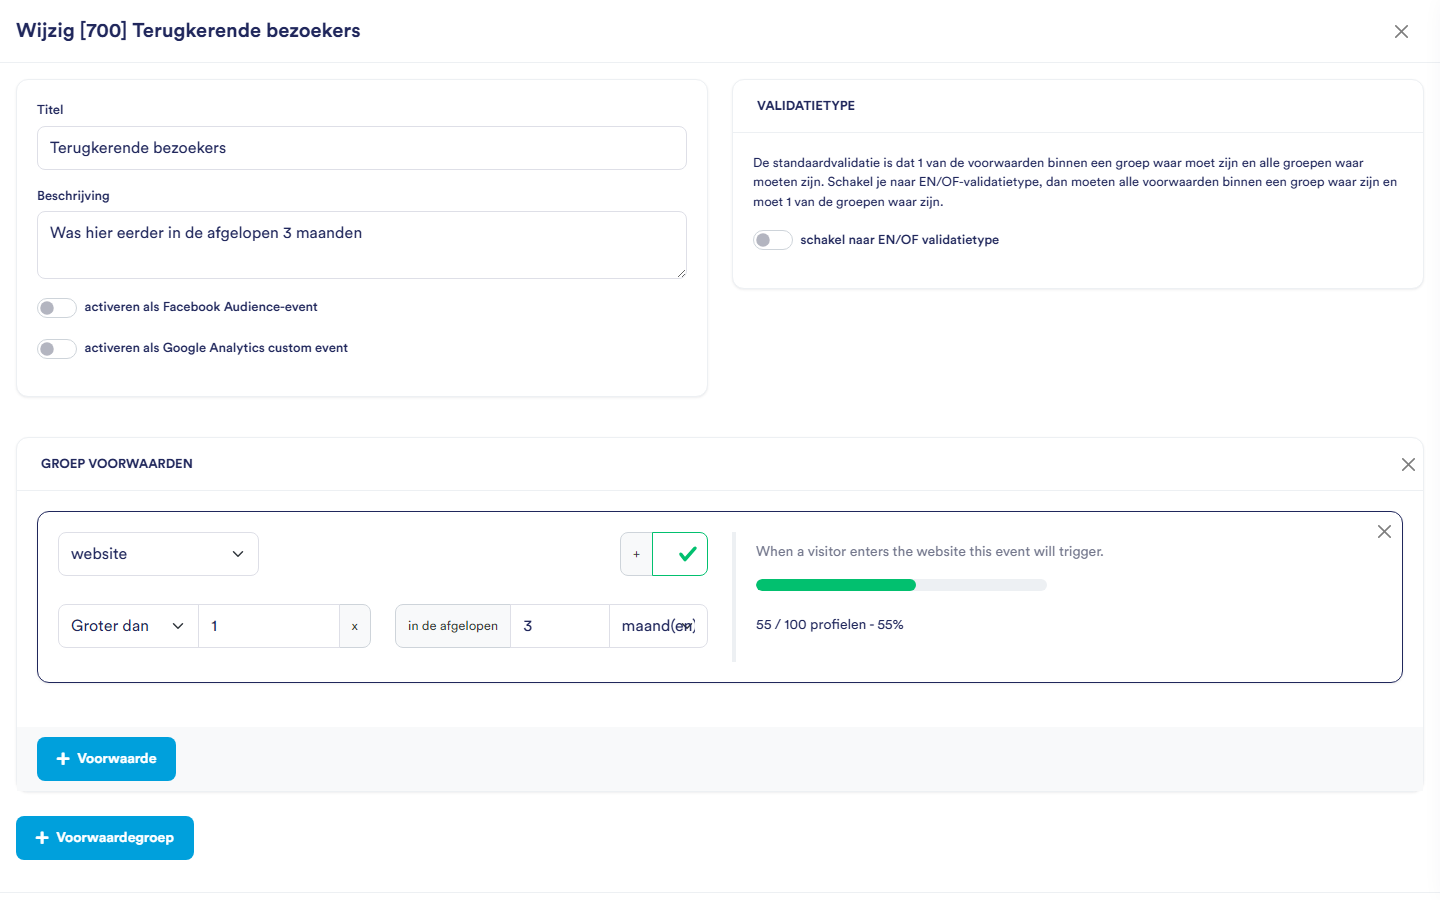
Enter the name
Returning visitorsand a description, and click Create.In the row of the audience, click ⋮ and then Edit.
In the condition, in the group visit website/specific webpage, choose the behaviour
website: a visit to your website.Below that, set: Greater than
1x, in the last3month(s). The first visit counts as 1, so from the second visit onwards someone falls into this audience.Click Save segment.
In the Status column, click the pause icon to turn the audience on. A new audience is paused.
Note: These are different audiences from the Audiences menu item, which is about social proof.
Important: A journey starts again if a visitor stays away for more than 90 days, or earlier if you have set a shorter Journey duration under General settings. Audiences only look at visitors with an ongoing journey. So do not choose a period in your condition that is longer than your journey duration.
Step 2: Creating two widgets
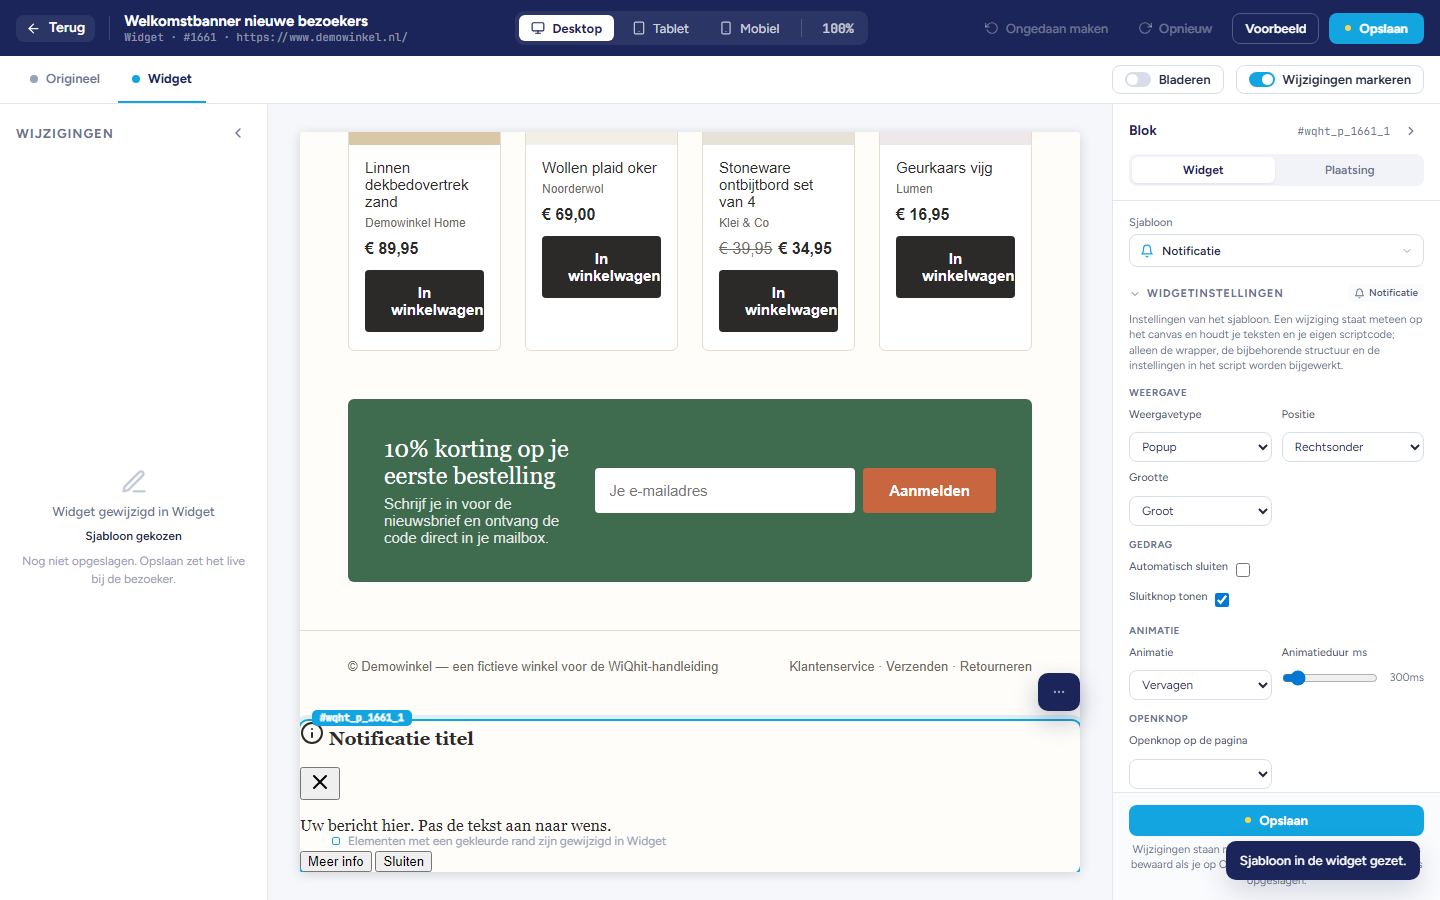
Under Personalisations, create two personalisations, for example
Welcome banner new visitorsandWelcome back.Build them in the editor with the Notification or Overlay template.
Step 3: Placing the widgets on the board
On the Journey Board, enter the ID of
Welcome backin the search field. In every card where the widget is still missing, a line with a plus sign appears.Click that line in the cards of Returning visitors, in every phase.
Repeat this for the welcome banner, in the cards of [0] Unknown visitor.
Set both personalisations to Active.
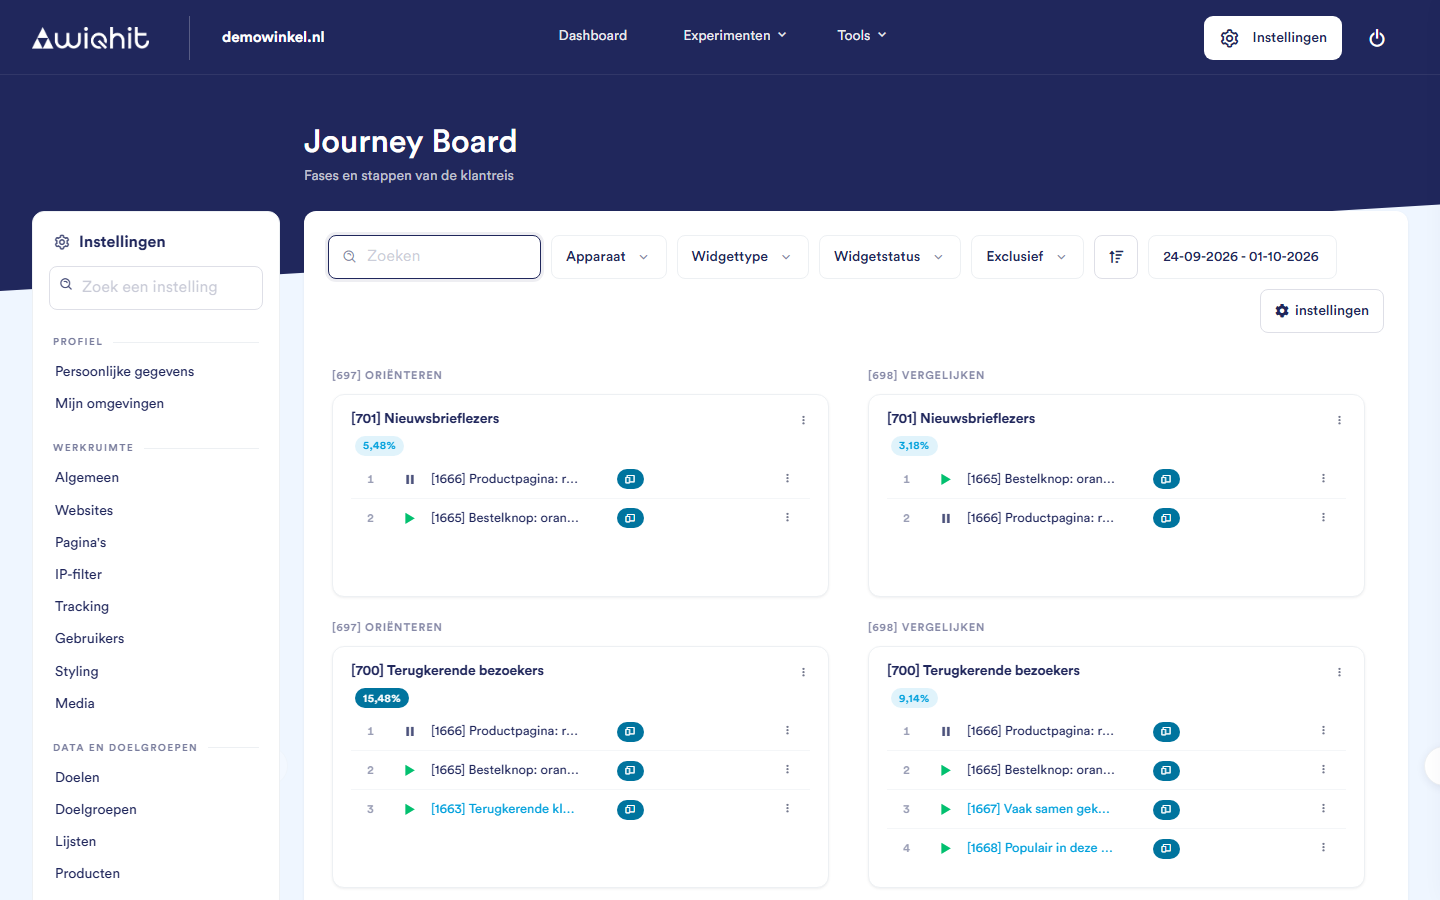
Important: A new personalisation is not yet in any card, and then nobody sees it. You can recognise this by the red target icon with 0/… in the list.