Webpush wizard
Select a target audience (a webpush audience or an audience)
Set the content together
Plan shipment
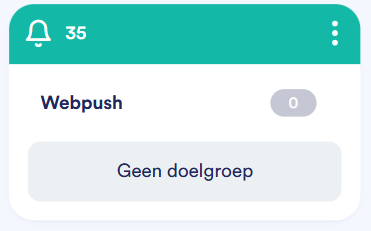
Before you can send web push notifications, a webpush domain are created via Global Settings. Only Webpush domains that are configured correctly are displayed at the block.
Add webpush block
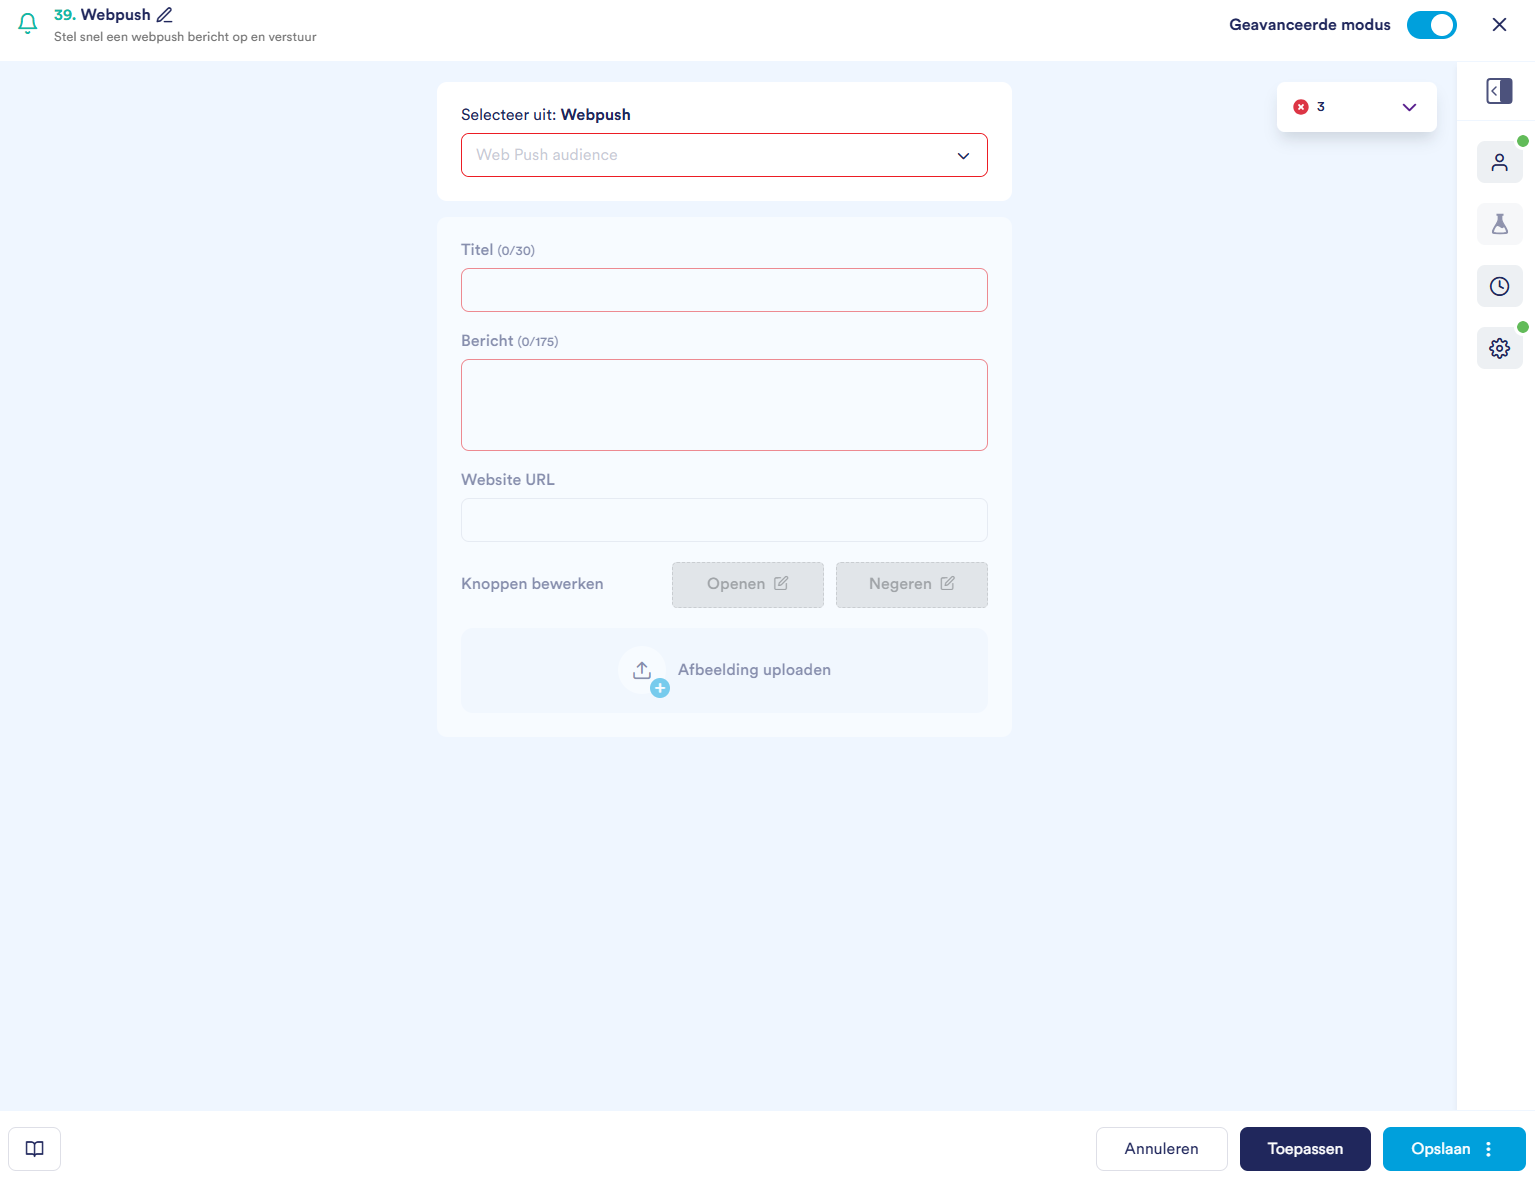
Overview or the editor
Icon | Section | Function |
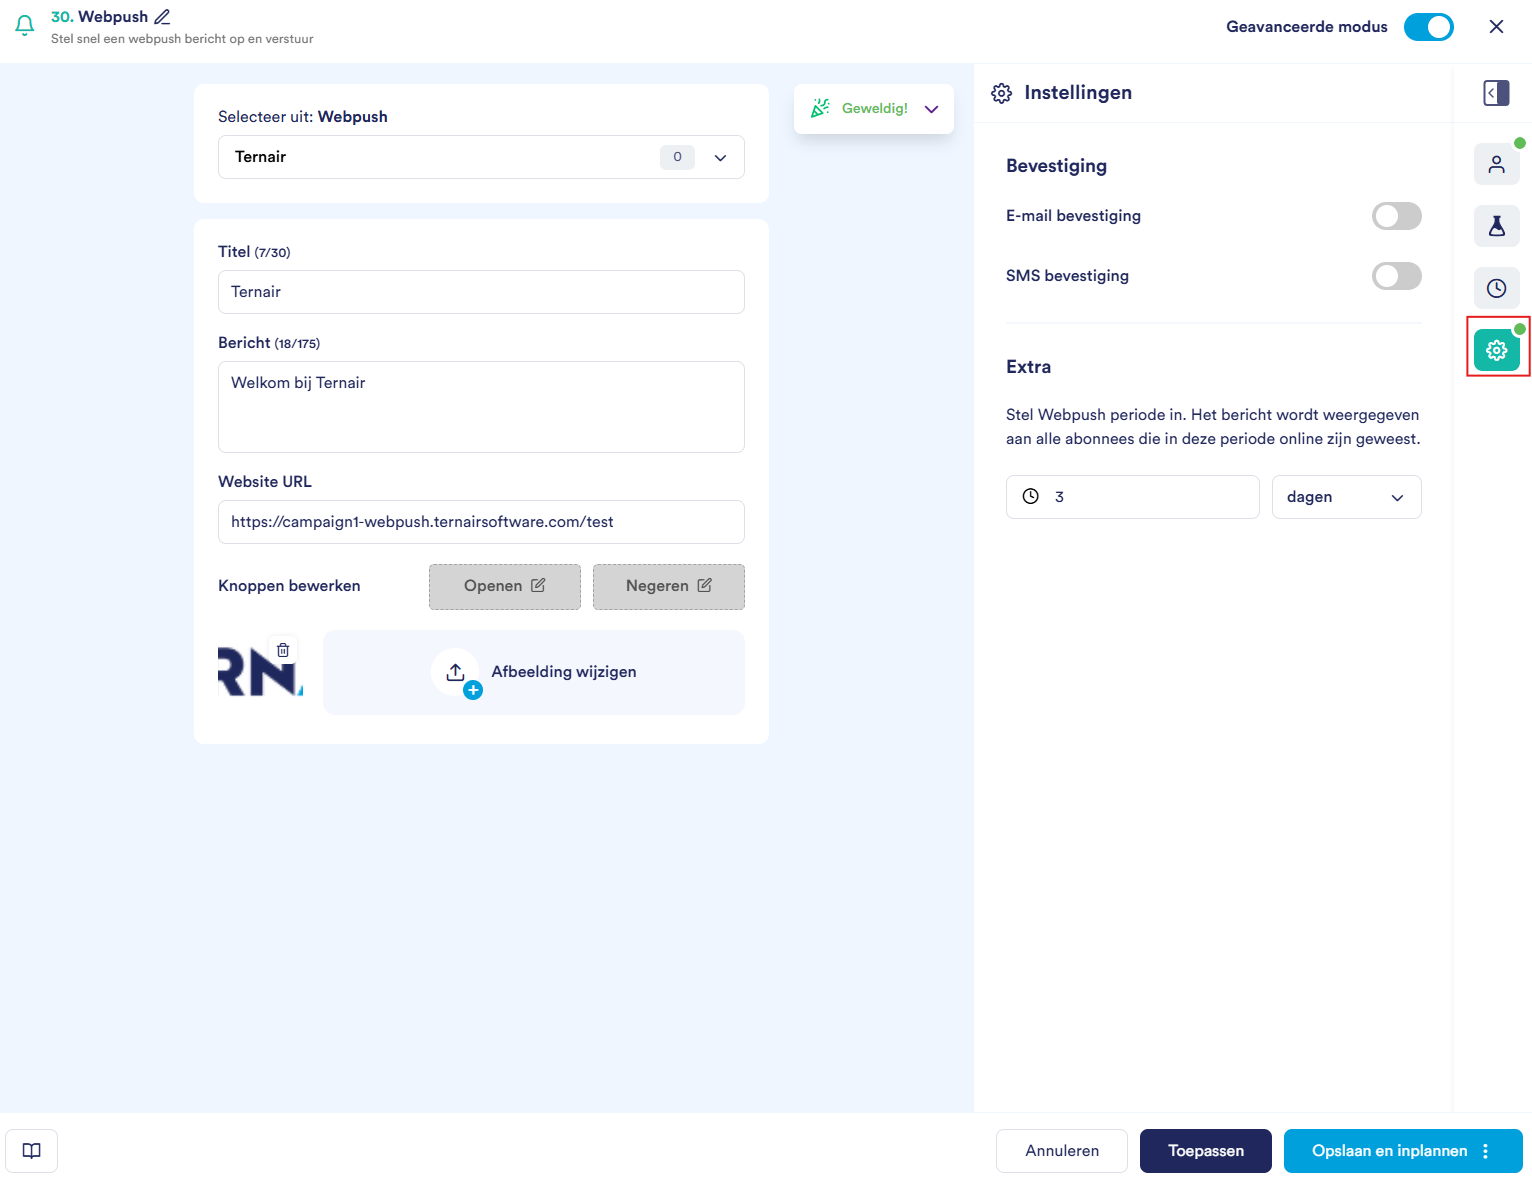
 | Title | At the top left or your screen you will see the title or the block (default: Webpush). Click the pen icon next to the name to edit the title. |
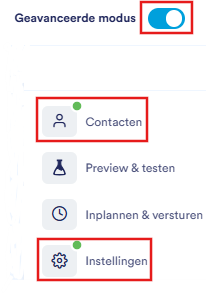
 | Advanced mode | At the top right or your screen you will find the Advanced Mode switch for additional menu items and functionality. |
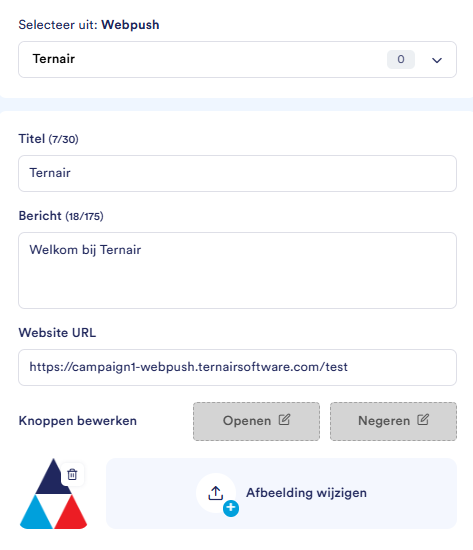 | Editor | In the center or your screen you have the editor where you set up the content or the web push. |
 | Menu | On the right side or your screen you will find a drop-down menu with additional options. |
Menu items
Icon | Section | Description |
 | Contacts | Set whether a contact moment is recorded after sending the web push. (Visible only at Advanced mode). |
 | Mapping | Map the web push content variables to the fields from the selected target audience. (Only visible in Advanced Mode and when a target audience has been selected.) |
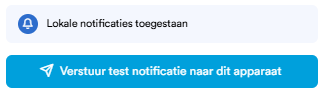
 | Preview & Test | See what the push notification looks like and test the notification before sending it. |
 | Schedule & send | Plan when the web push will be sent, such as once or on a recurring schedule. |
 | Settings | Set additional options for the web push, such as confirmations and delivery settings. (Visible only at Advanced mode). |

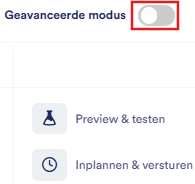
Advanced mode
Preview & Testing
Schedule & send
Contacts
Settings
The target Audience tab in the Select a Custom Audience field
Mapping (only visible after you have selected an audience)
Error messages
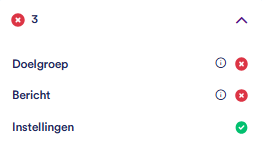
Target
Message
Settings.
Webpush message creation
Select target group
Tab | Description |
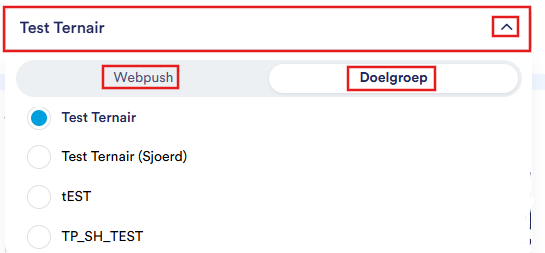
Webpush | The web push audiences that have been built based on web push behavior. |
Target audience | The audiences from the Audience Manager. Select this tab when you want |
Click the Select a Custom Audience field
Select either the Web Push or Target Audience tab
Choose the desired web push audience or target audience

Create the message
Icon | Field | Description |
 | Title | Header or the push notification (max. 30 characters) |
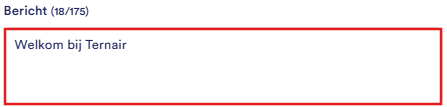 | Bericht | Contents or the push notification (max. 175 characters) |
 | Website URL | Link where the user goes when opened |
 | Edit buttons | Apply action buttons Open and Ignore to |
 | Upload image | Optionally add an image to the notification |
Contacts
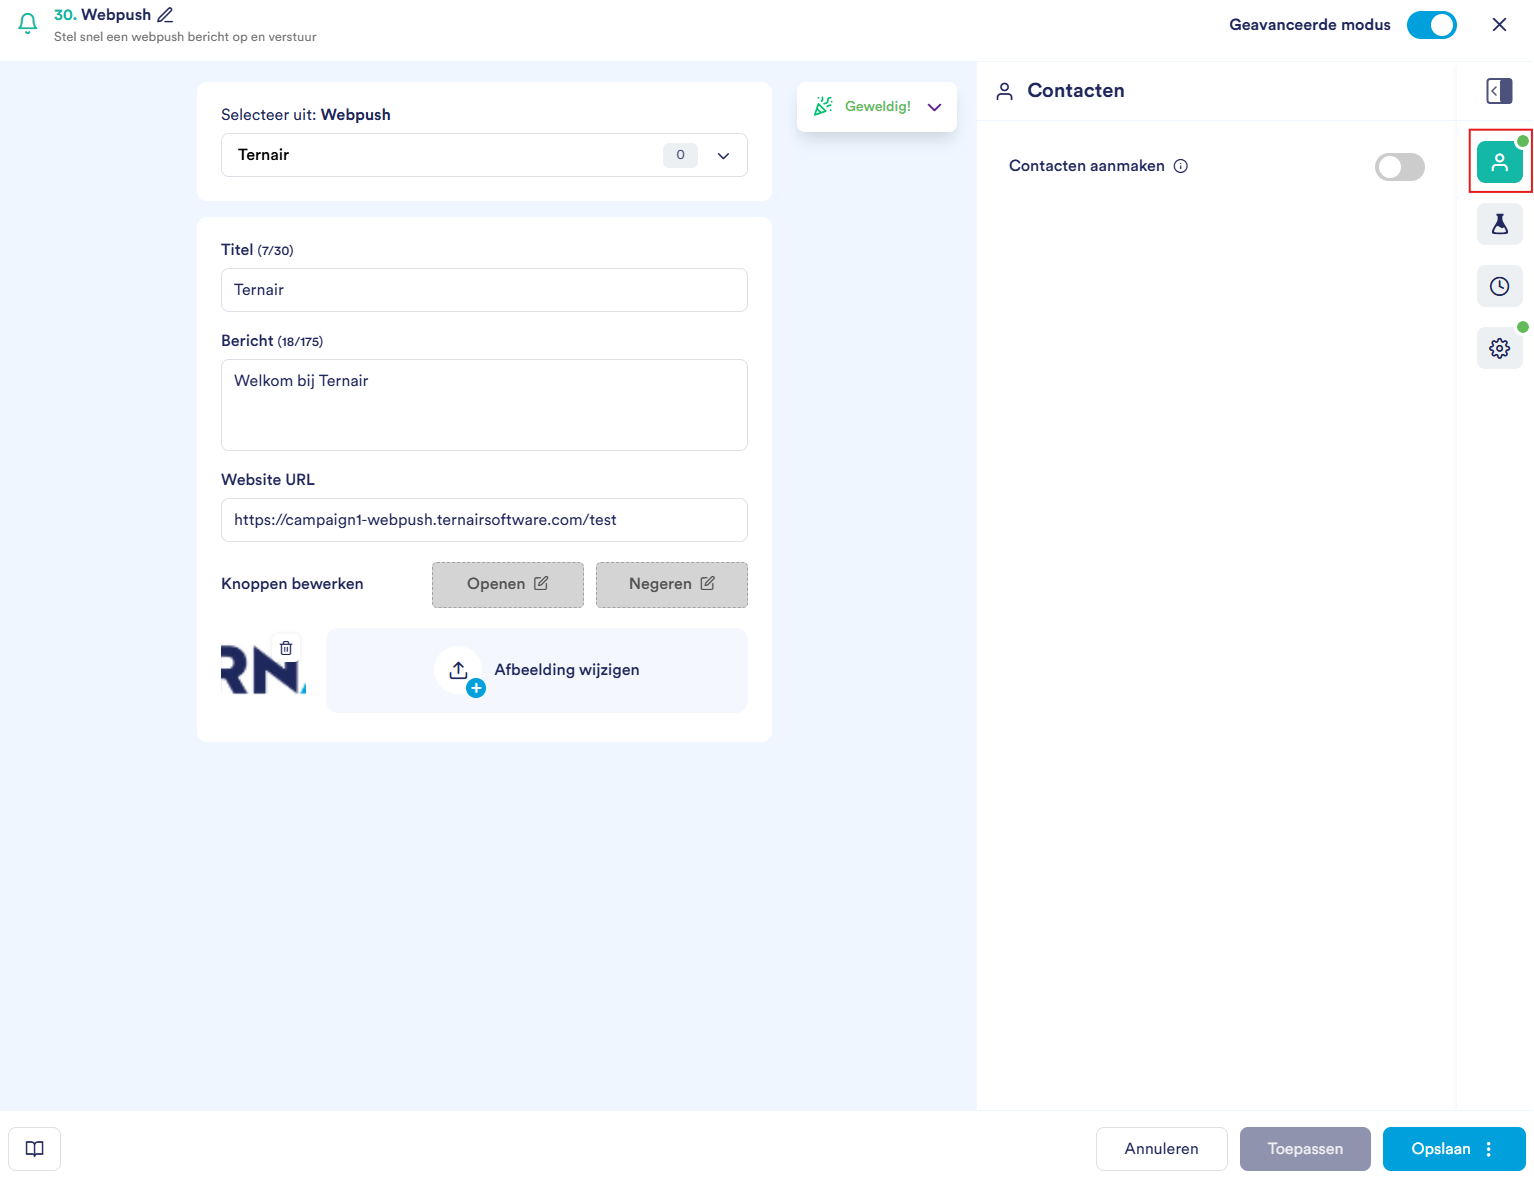
bovine date (the date the block is executed)
beef date + (a few days after the run)
fixed date (on a specific, self-set date).
Mapping
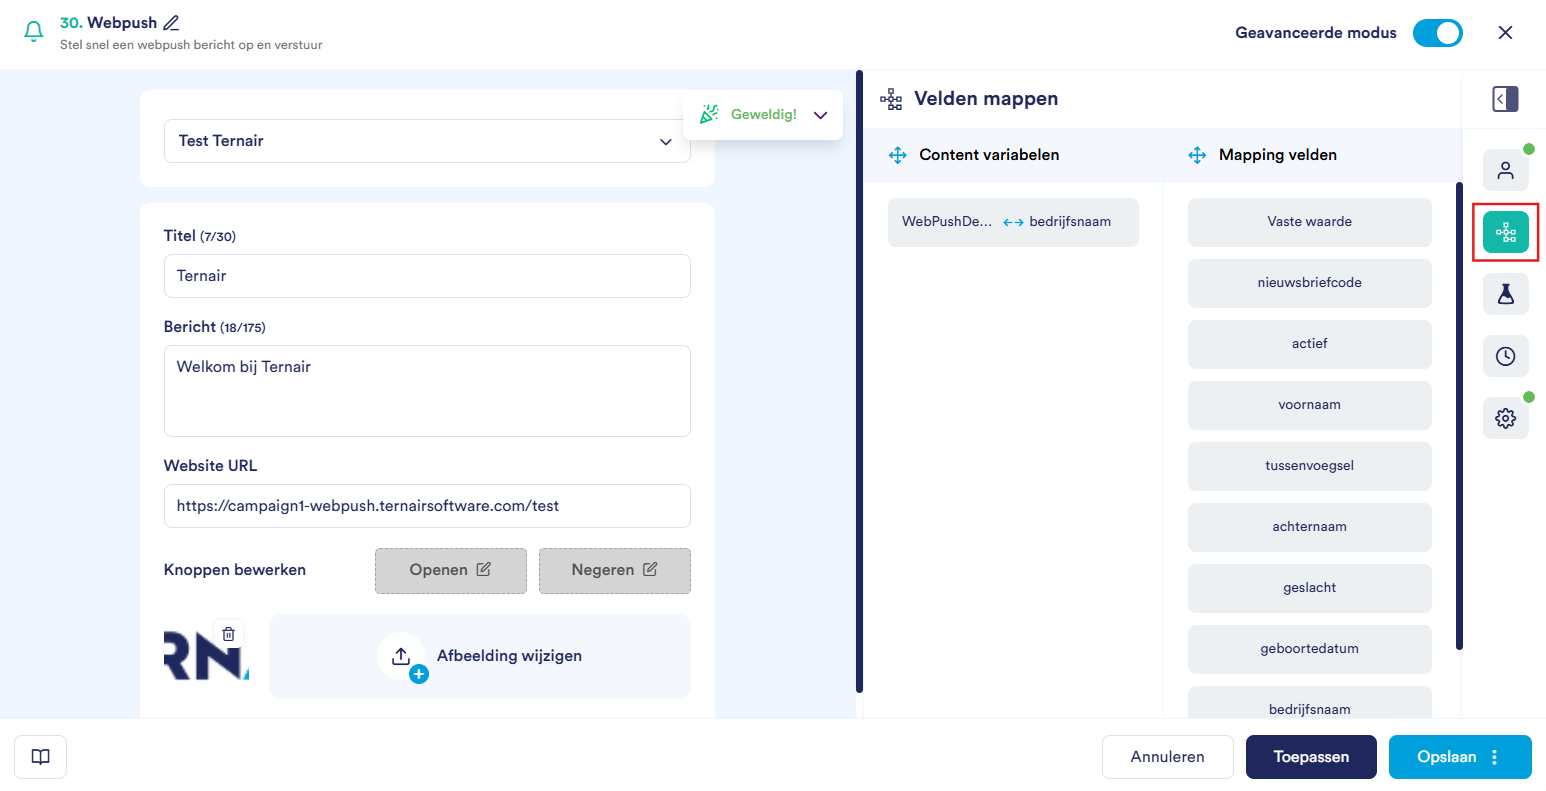
using the Auto-map Fields icon, or
dragging a field from the right-hand column to the corresponding field in the left-hand column.
Preview & Test
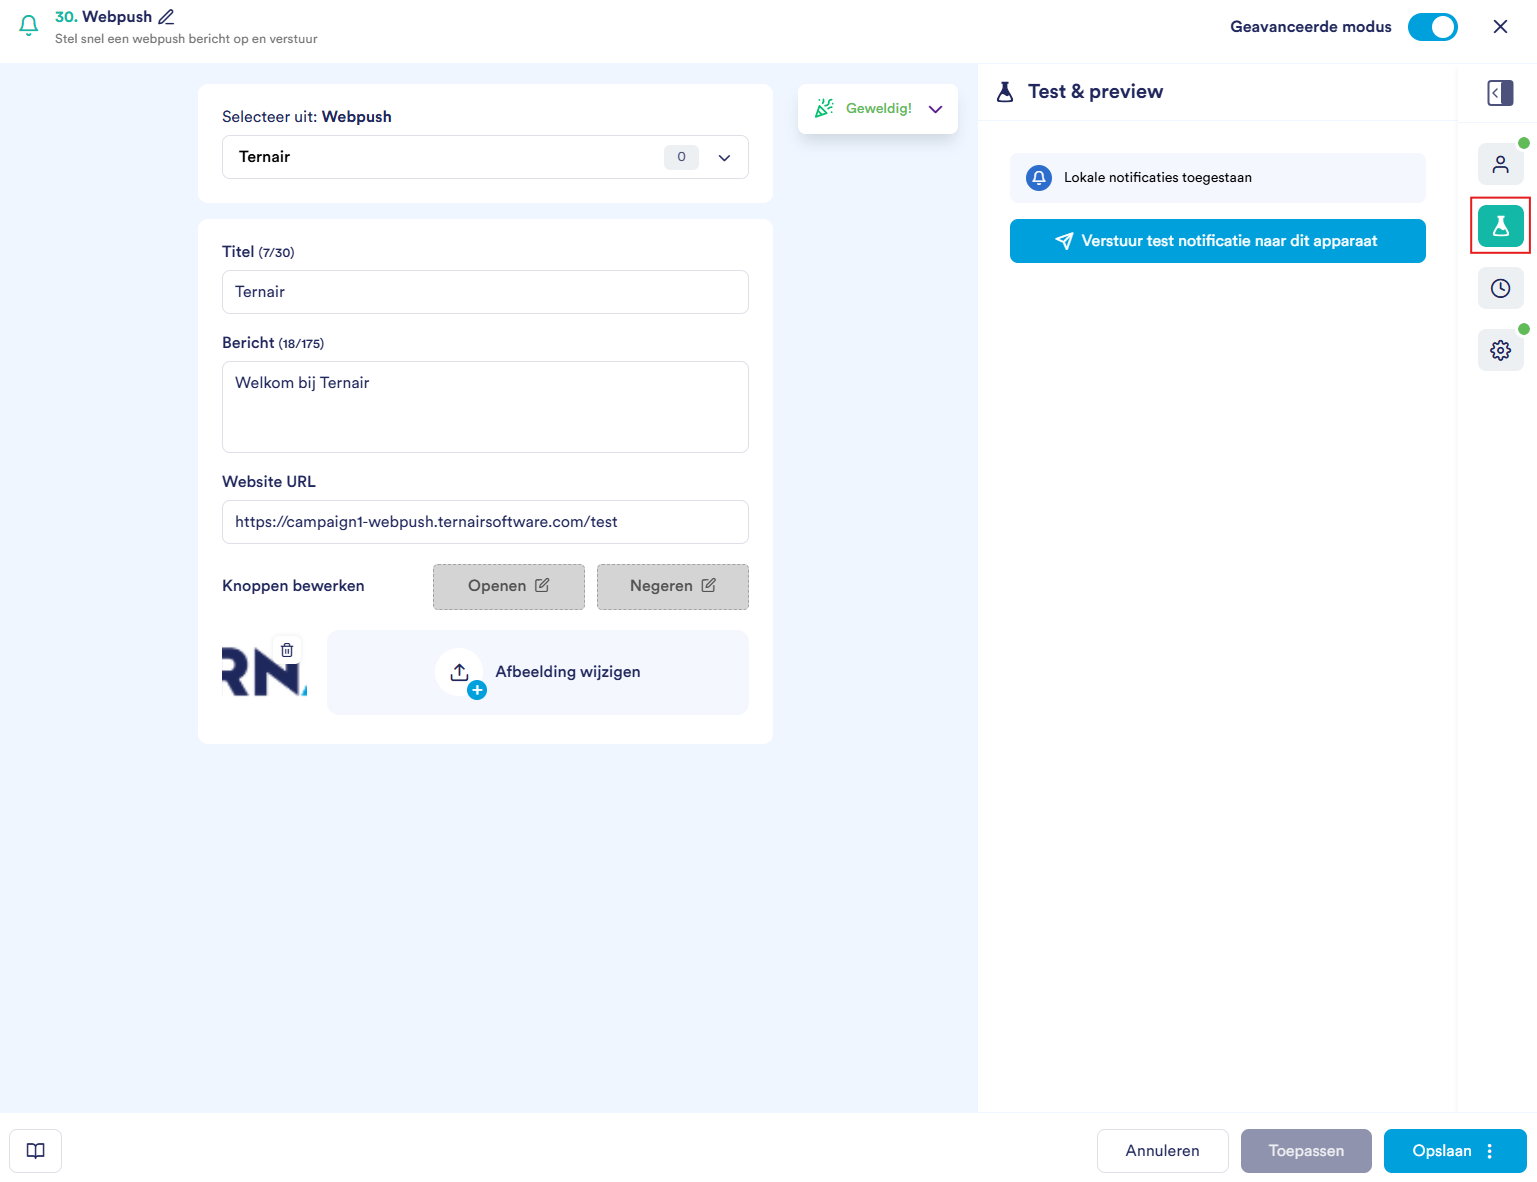
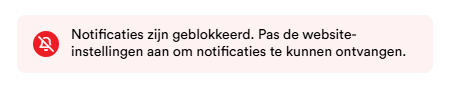
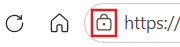
Click on the lock icon next to the website URL at the address bar
Open the site settings
Find the option Notifications
Put these on Questions (standard) or Allow
Refresh the page
After resetting the settings, the message appears again at which you allow notifications.
Schedule & send
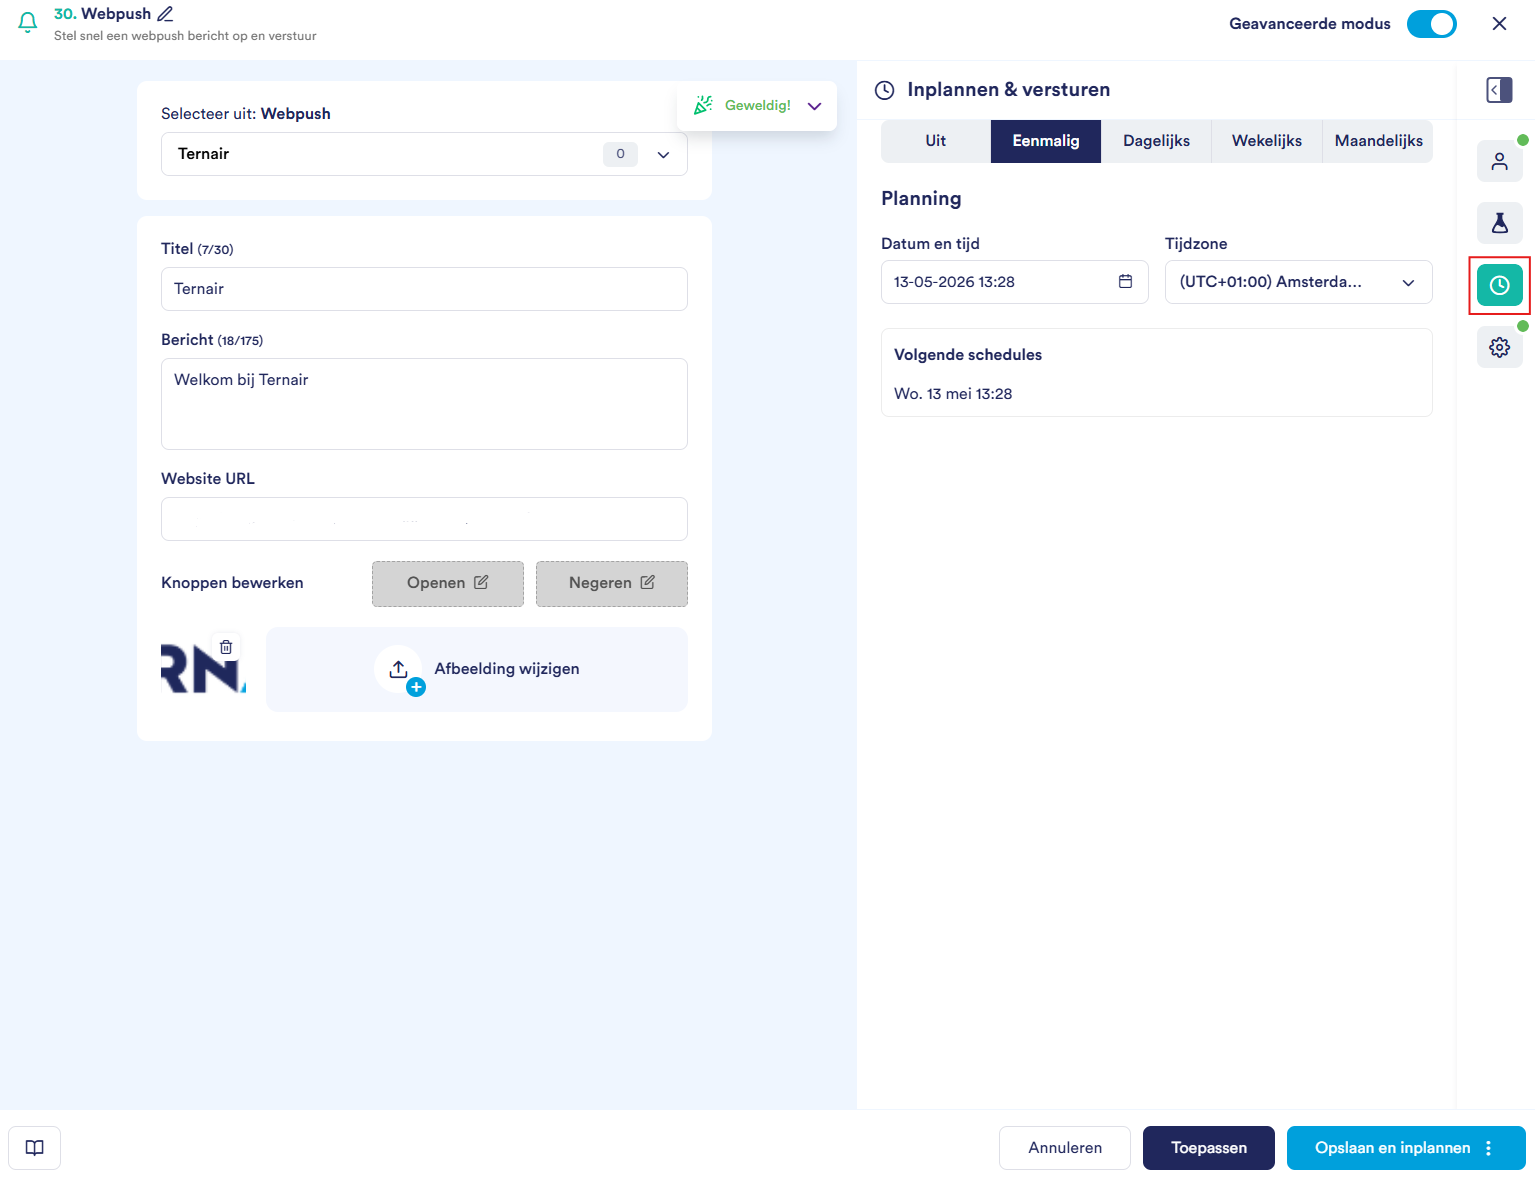
Option | Description |
From | The web push has not been scheduled (yet) |
One-time | The notification is sent once at a specific time |
Daily | The notification is sent at a fixed time each day |
Weekly | The notification is sent on a fixed day and time each week |
Monthly | The notification is sent on a fixed day and time each month |
Settings
Email
SMS
Apply/save/cancel
Option | Description |
Apply | Save the settings without closing the editor. |
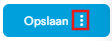
Save | Save the settings and close the editor. If "Advanced Mode" is enabled, you can also save the block as a template by clicking on the three dots. |
Cancel | Close the editor without saving any changes. |

Scheduled Webpush block
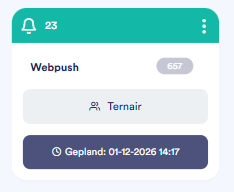
Open Webpush block
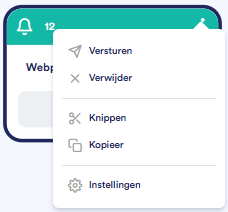
Option | Description |
Send | Send the web push notification |
Remove | Remove the block from the flow chart |
Cut | Cut the block to paste it elsewhere |
Copy | Make a copy or the block |
Settings | Open the settings or the block |