Schedule
A Schedule block allows you to schedule the execution of (part of) the flowchart (on a recurring basis) and run it on the desired day and time.
Terms and Conditions
The Schedule block must always be linked to one or more other blocks to trigger a transmission. A standalone Schedule block on the flowchart performs none take action.
Wizard blocks such as Newsletter and Web Push have their own built-in send time and have none Schedule block required.
The Schedule block must always be linked to one or more other blocks to trigger a transmission. A standalone Schedule block on the flowchart performs none take action.
Wizard blocks such as Newsletter and Web Push have their own built-in send time and have none Schedule block required.
Add a Schedule Block
Drag the Schedule block from the category Choose automation In the menu, go to the worksheet. Connect the Schedule block to a channel block.
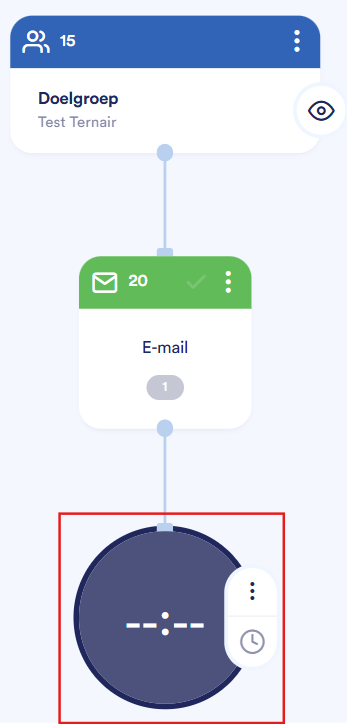
Double-click the block to open the settings menu.
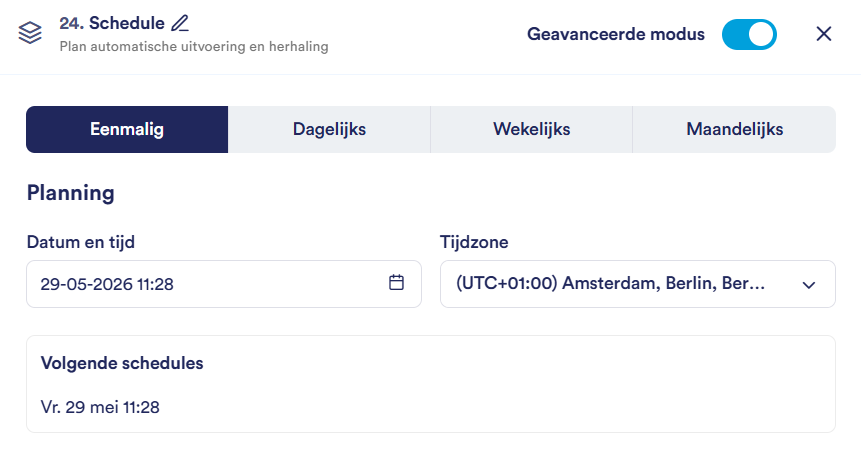
Title
In the upper-left corner of your screen, you'll see the titel from the block (default: Schedule). Click the pencil icon next to the name to edit the title.

Advanced Mode
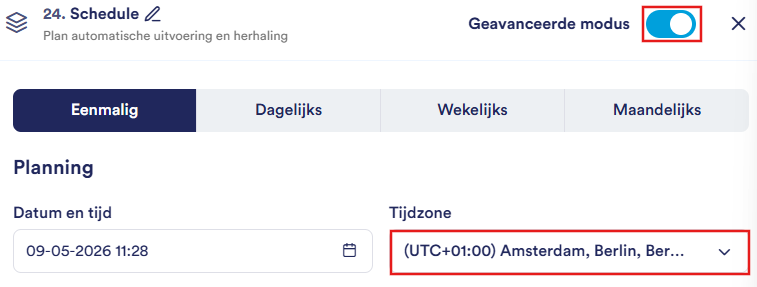
If you check the checkbox Advanced Mode When you check this box, you'll see the option to select a different time zone for the schedule. This is useful when you're scheduling campaigns for recipients in a different time zone.
Set a Schedule
Send frequency
Select at the top of the settings menu the desired frequency to run the campaign. You can choose from the following options:
Option | Description |
One-time | The campaign will be sent once on a specific date and time |
Every day | The campaign runs automatically every day at a set time |
Weekly | The campaign takes place every week on a set day and time |
Monthly | The campaign takes place on a set day and time each month |

Planning
Under the heading Planning Enter the desired date and time in the date field. Use the calendar icon on the right side of the field to select a date.
If you have enabled "Advanced Mode," you can also select a time zone.

Upcoming Schedules
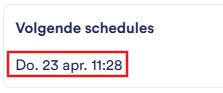
Below the date field, you'll see Upcoming Schedules — an automatically updated list of the next scheduled export times, so you can immediately check whether everything is set up correctly.
Apply/ Save/ Cancel
Use the options below to save your changes.
Option | Description |
Apply | Save the settings without closing the editor |
Save | Save the settings and close the editor |
Cancel | Close the editor without saving any changes |

Start/Stop Schedule
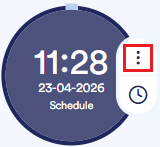
To start the schedule, click on the three dots in the upper-right corner In the block, select “Start Schedule.”
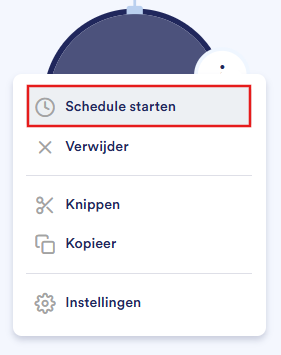
After you click "Start Schedule," the schedule will active.
An active schedule can be identified by the set date and time.
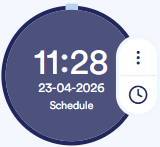
If no time has been set yet, you'll see dashes instead of a time.
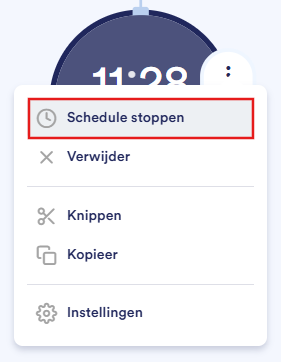
To stop the schedule, click the three dots in the upper-right corner In the block, select “Stop Schedule.”
Next runs (clock icon)
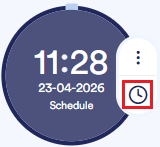
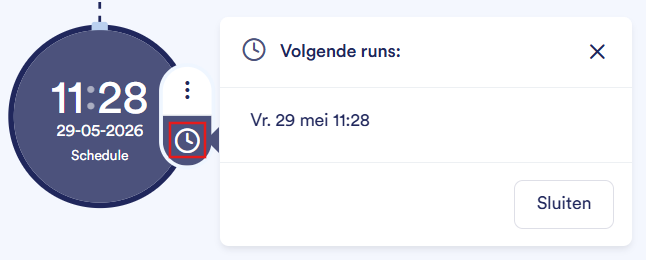
Click on the clock icon to the right of the active Schedule block to see a quick overview of the upcoming runs without opening the settings menu. Close the overview by clicking the X.
Context menu (three dots)
To open an existing Schedule block, double-click the block or click the three dots in the upper-right corner on the block.
A context menu appears with the following options:
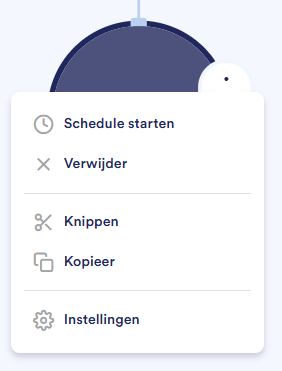
Option | Description |
Schedule | Start or stop the schedule |
Delete | Remove the block from the flowchart |
Cutting | Cut out the block to paste it somewhere else |
Copy | Make a copy of the block |
Settings | Open the block's settings |