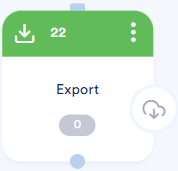
Export

The Export block allows you to export the selected target group data to a file. Here, you can configure the file format, the distribution method, and, optionally, contact registration.


Terms and Conditions

Before you can create an export, at least one target group must be available. You can select this target group via a Target audience, Leads, Website clicks, or Webhook block on the flowchart.

Please note: To select the export output, you must choose the option Create Contacts Enable it in the Contacts tab.

Add Export Block

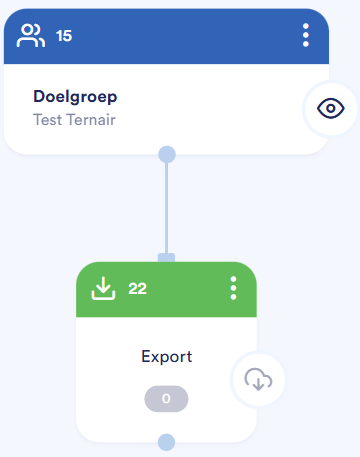
Drag the Export block from the category Select channel In the menu, go to the worksheet. Connect the Export block to one or more target audience blocks.
 

Double-click the block or use the context menu (three dots > Settings) to open the editor.


Overview of the Editor

The Export Editor consists of several components.

Icons

Component

Position

Title

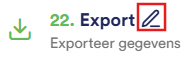
In the upper-left corner of your screen, you'll see the block's title (default: Export). Click the pencil icon next to the name to edit the title.

Advanced Mode

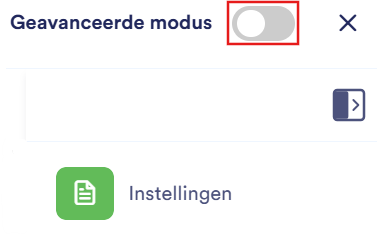
In the upper-right corner of your screen, you'll find the "Advanced Mode" toggle for additional menu items and features.

Menu

On the right side of your screen, you'll find the drop-down menu with additional options.


Menu items

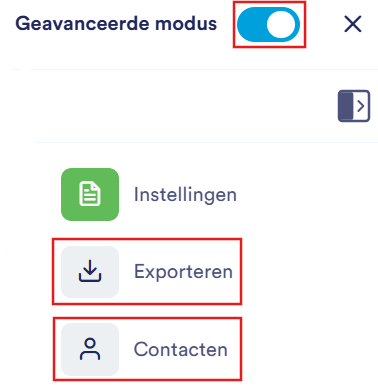
The menu contains various options that allow you to configure and manage the export. Which menu items are visible depends on whether the Advanced Mode is enabled.

Icons

Component

Position

File Settings

Select the desired file format for the export.

Export

Configure how the export is delivered. (Visible only in Advanced Mode).

Contacts

Specify whether and when a contact is recorded after the export. (Visible only in Advanced Mode.)

 
By default, only icons are displayed. Clicking the expand icon displays the detailed view.
 

When you select a menu item, the icon turns green. This lets you see at a glance which tab you're on.
 

Advanced Mode

Wanneer Advanced mode is disabled, are available only:
  • Settings


Wanneer Advanced mode is enabled, these additional options will appear:
  • Contacts

  • Export


Daarnaast kun je het blok Save as a block template. In the button Save verschijnen drie puntjes waarmee je een extra optie kunt openen om het blok op te slaan als template.


Export

Settings

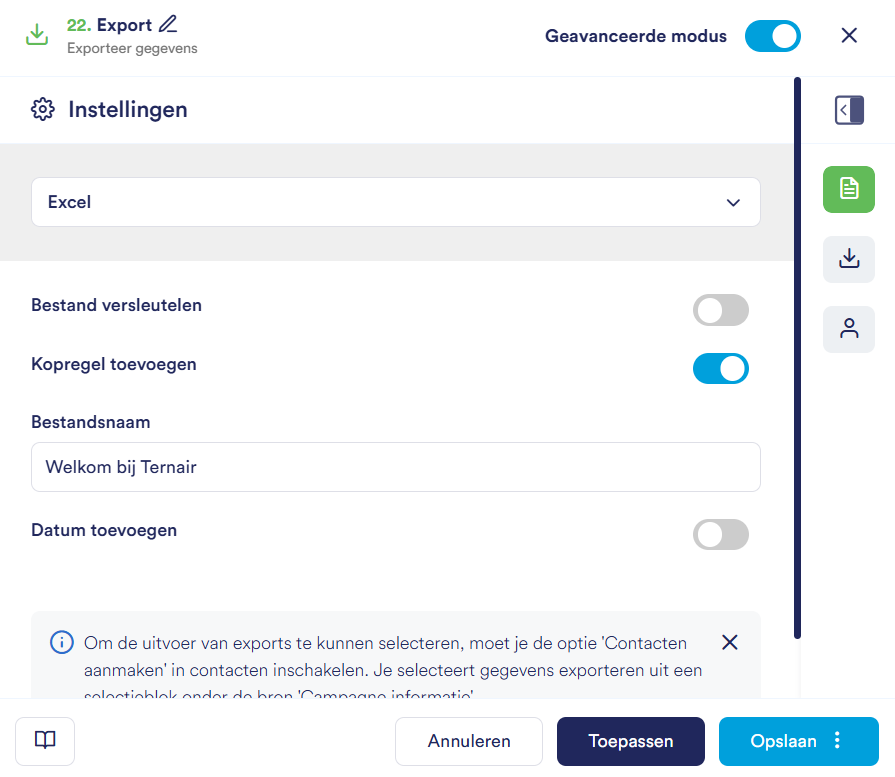
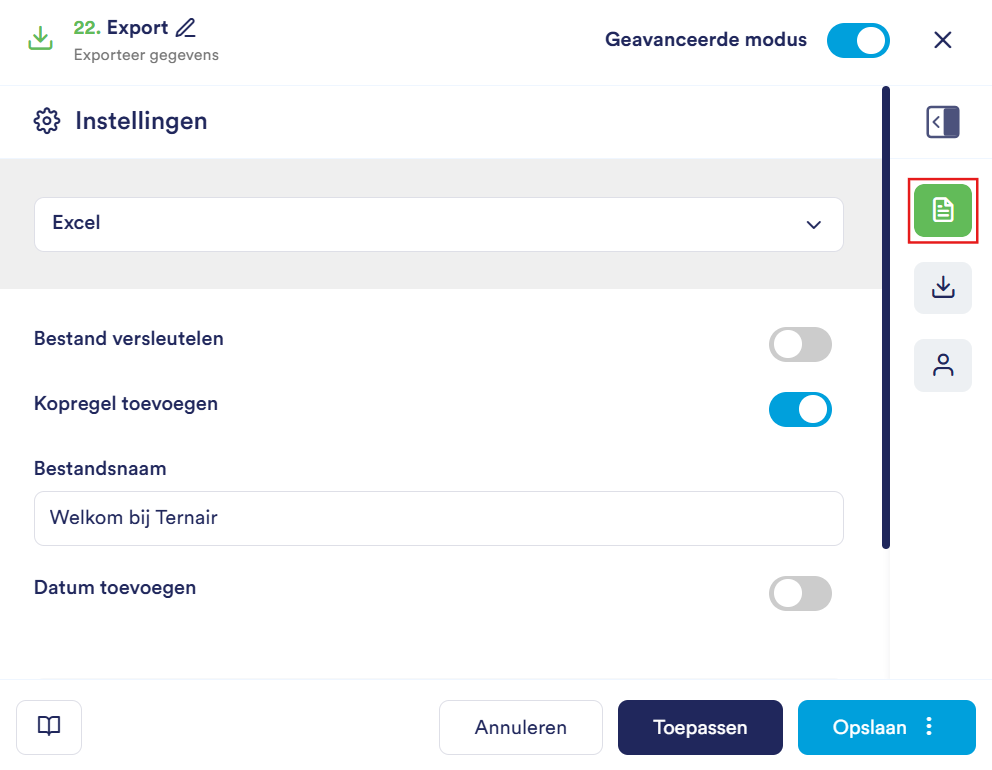
In the tab Settings specify, among other things, the file format for the export file.


Select the desired file format for export from the drop-down menu.


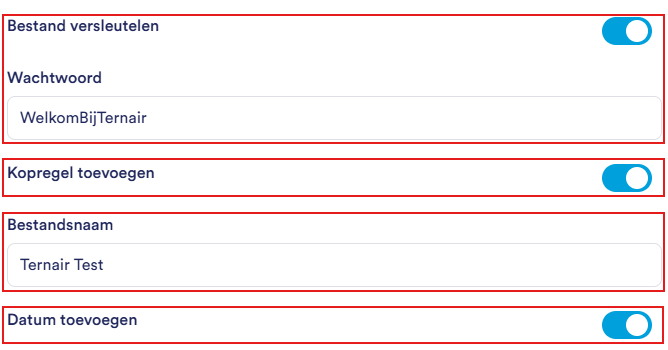
If you've enabled "Advanced Mode," additional options will appear.
 

Option

Description

Encrypt a file

Protects the export file with a password (enter it in the field Password), so that only recipients with this password can open the file

Add a header

Places the column names on the first line of the export file

File name

The name under which the export file is saved; the extension is carmatically added by the system

Add Date

Automatically adds a date stamp to the file name, so that each export has a unique name


Export

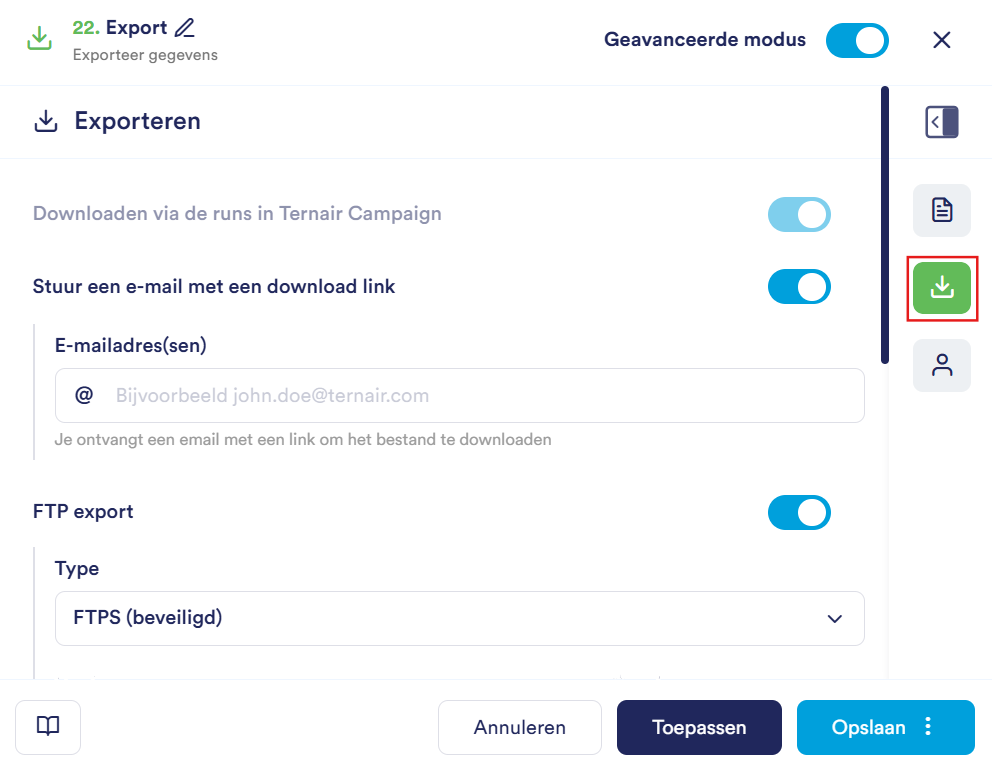
On the Export tab, you can configure how the export is delivered.


The export is available for download via the run in Ternair Campaign. (Enabled by default).
Optionally, you can add additional options for receiving the export:
Send an email with a download link

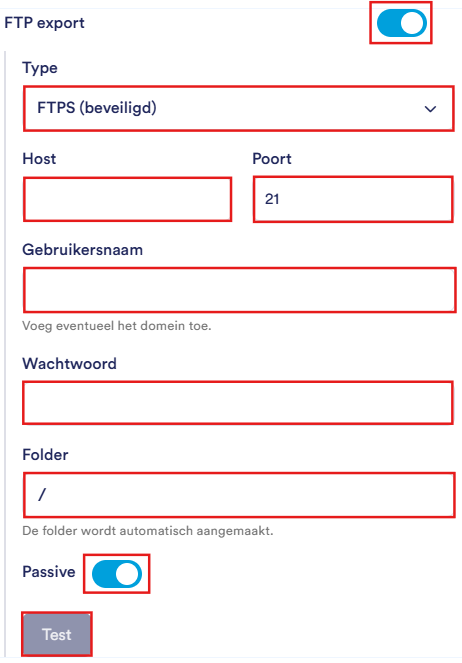
Create an FTP export. Configure the export to be sent carmatically to a FTP location.
First, select the desired type of security and then fill in the host and gate in. Then add a username and, if applicable, the domain. Link a password and finally, enter a test to check the connection.


Please note: This menu is only visible when the Advanced Mode is activated.
 

Contacts

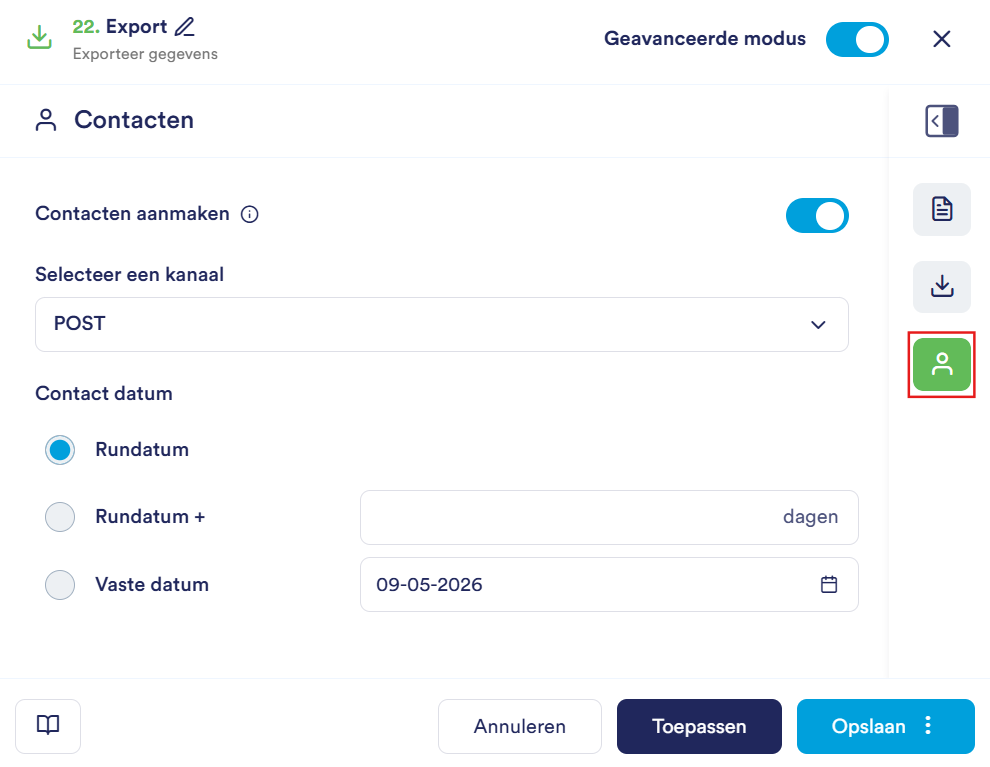
In the Contacts tab, you can specify whether and when a contact event is recorded after the export. Turn on the toggle to record contact events. Select a channel for recording your contacts. Choose a contact date.


Use the options below to Date of contact to determine which date format is used in the export.
  • execution date (the date on which the block is executed)

  • run date + (a number of days after the run)

  • fixed date (on a specific date that you can set yourself).

 
Please note: This menu is only visible when the Advanced Mode is activated.
 

Apply/ Save/ Cancel

Use the options below to save your changes.

Option

Description

Apply

Save the settings without closing the editor

Save

Save the settings and close the editor.

If "Advanced Mode" is enabled, you can also save the block as a template by clicking the three dots.

Cancel

Close the editor without saving any changes


Execute Export Block

Once you've saved the export block, you can start it in two ways:
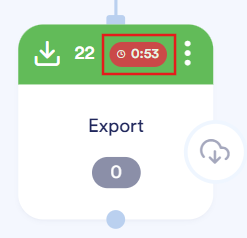
  • Go to the export block, right-click, and select Execute. The export will then be activated. A one-minute countdown timer will appear, after which the export will be generated.

  • Connect the Export block by drawing a line to a Schedule-block.
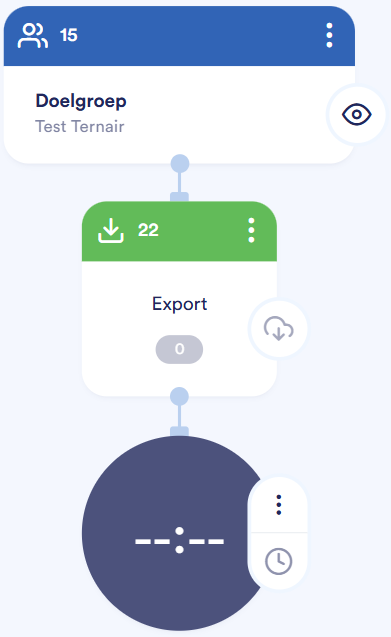

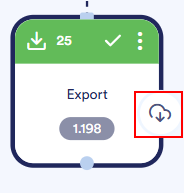
Through the download icon The export file is available for immediate download.


Open the export block

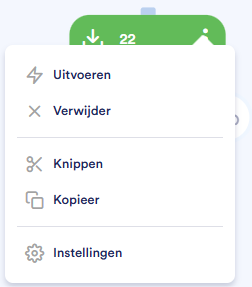
To open an existing Export block, double-click the block or click the three dots in the upper-right corner of the block.


A context menu appears with the following options:

Option

Description

Execute

Export the data

Delete

Remove the block from the flowchart

Cutting

Cut out the block to paste it somewhere else

Copy

Make a copy of the block

Settings

Open the block's settings


Copyright © 2026 Ternair.